
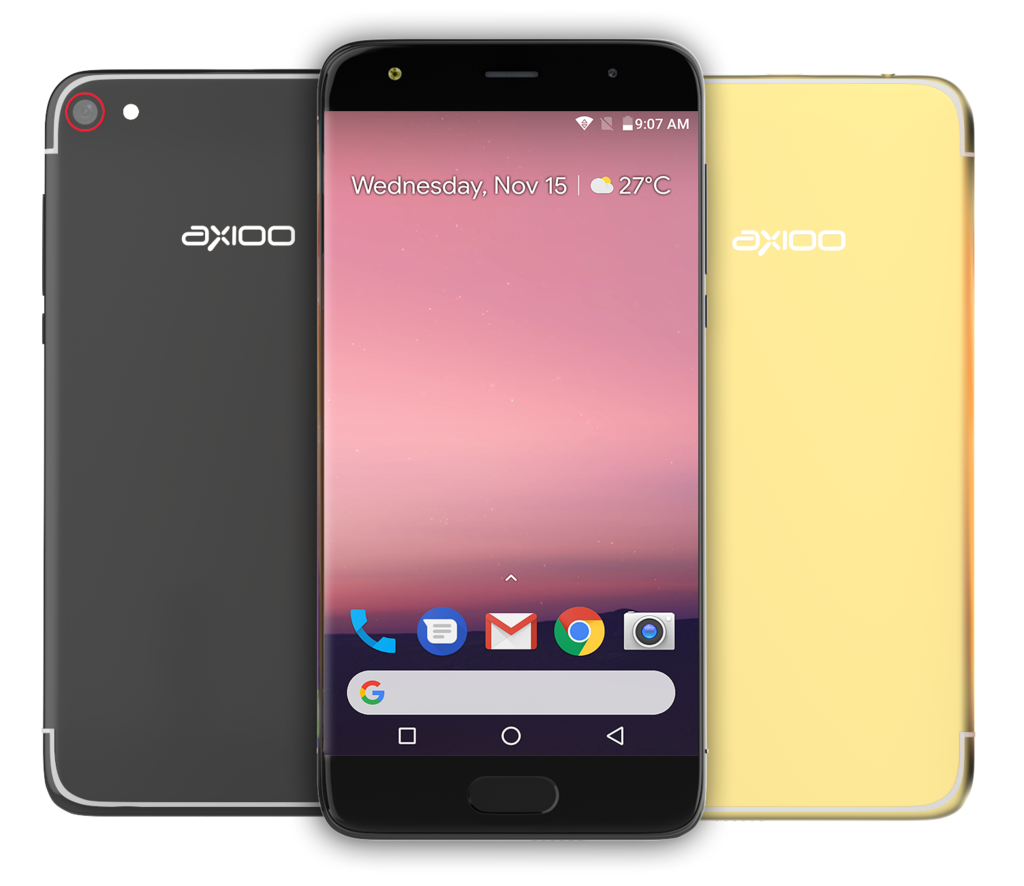
A new model from axioo with mediatek mt6737m chipset. It has 720×1280 screen resolution. 8+5 mpx cam, and 2Gb ram. You may also check the complete specification of this model on axioo site.
I’ve made this custom rom base from the stock rom, so everything is working, except this is rooted so you can do any customization as many as you like and also bloatware and malware free from any unnecessary stealth and application that you may never need.

Here is the custom rom :
Download : m6_jfdesignnet_111117.zip
MD5 : 99c4694f2f3114710721c7f66560854c
Requirement and Preparation :
- Read this thoroughly :
I am not responsible if you brick your phone, get stuck in a bootloop, or if your phone grows arms and tries to kill you. Flash at your own risk!
Please do some research if you have any concerns about risk of flashing a custom rom before continuing! YOU are choosing to make these modifications, and if you point the finger at me for messing up your device, I will laugh at you!!
If you have any other objection, don’t bother to comment, just close this page! - This custom rom needs a custom recovery to flashed into the device, if you haven’t got it, get it here : custom recovery for axioo M6
- Delete all Google Account : This is not mandatory, but I only wants to make this as a habit. Some stock rom was protected by FRP (Factory Reset Protection) by Google as a prevention to avoid theft. This protection will confuse newbies while triggered and gives a lot of headache if they forgot the google password. By deleting the Google account first before flashing a new custom rom will disable this protection, this will make their day (and me ? ) a lot of easier.
So please do this as a habit, remove all the google account before flashing any custom rom. if not only for smooth flashing progress, this is also good for your own security.
Flashing Process :
The steps to flash this custom rom is easy as always, but for you who are not familiar with flashing custom roms, please make sure you follow the steps carefully :
- Preparing custom rom zip : Download the custom rom from link above and copy it to the root of your sdcard, you may check it first with your file manager to confirm it was there. There are two sdcard storage on this device, so you must know it’s at the internal sdcard or external sdcard. I prefer you to put this on external sdcard to avoid any difficulties.
- Get into Recovery : Boot into recovery mode by turning off your phone, hold down Volume Up button then press power button, hold them both until you see the recovery menu then release it. The recovery menu will show about 3 options, Recovery, Fastboot and Normal Mode. Select the Recovery options using Volume Up button and press Enter using Volume Down button. Wait a sec or two … then you’ll be in recovery mode.
- Wipe All (Factory Reset) : Go to the Wipe Menu and choose Wipe All or Factory Reset. This will erase all the contents of data partition and start from scratch. This is important step before flashing a custom rom. You may have a buggy OS if you’re start using the data not from clean.
If you’re from stock rom, the data partition is encrypted by default, and you have to FORMAT it first!! Select format /data and type “yes” to confirm it, then go to reboot menu and reboot the recovery so the changes will take place. After rebooting the recovery, the data partition now is all set and ready to use for custom rom. - Install the custom rom zip : Go to Install Zip, choose the storage location where you put the custom rom on step 1 and install it. Sdcard is for your sdcard and ExtraSD for internal storage
- Installation completed : After the installation completed, go to reboot menu and choose Reboot System
- Done
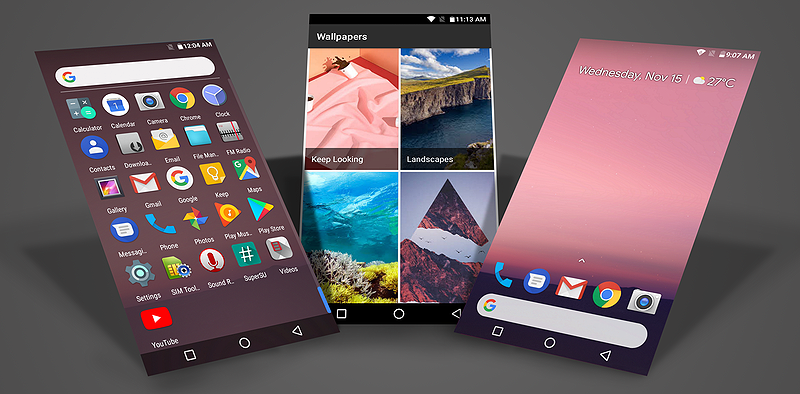
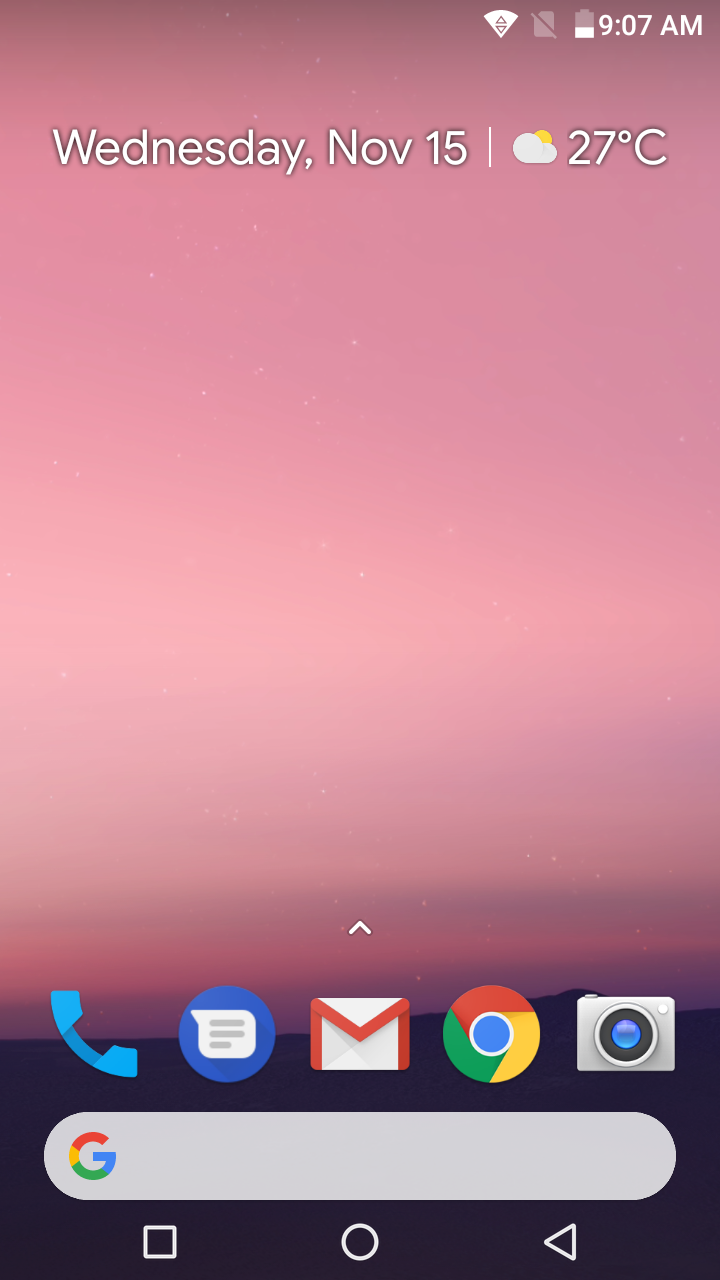
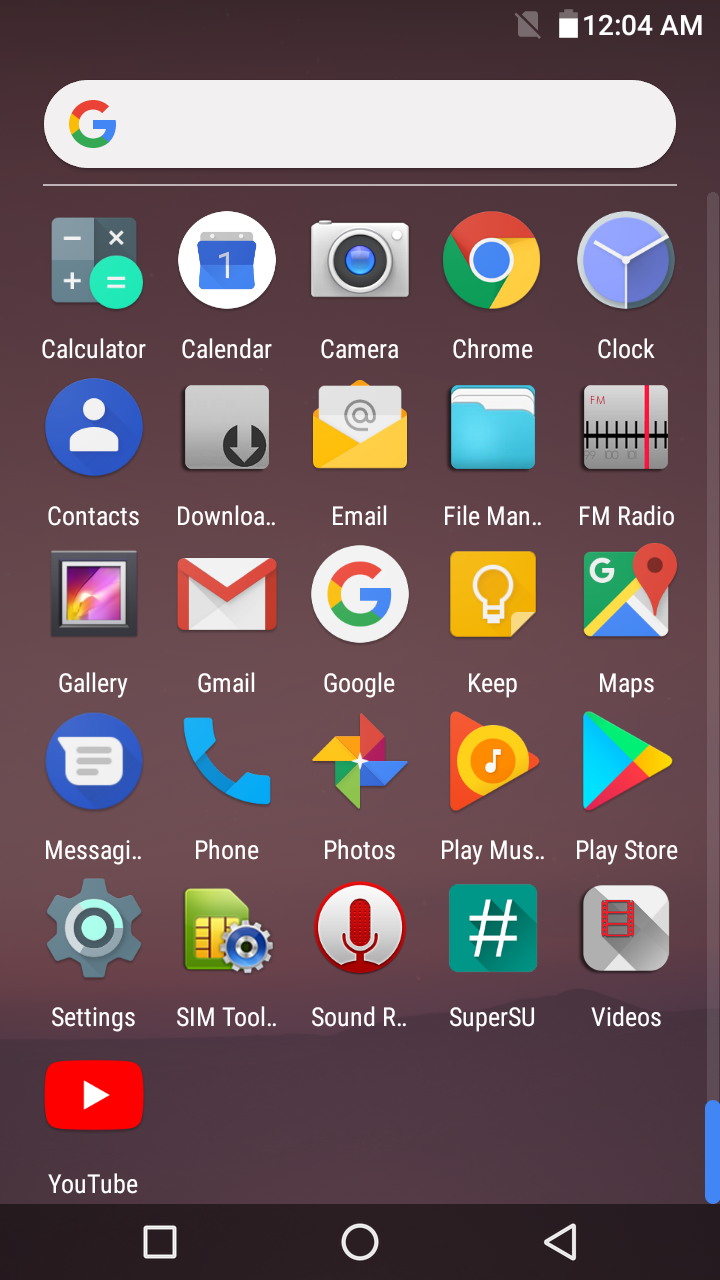
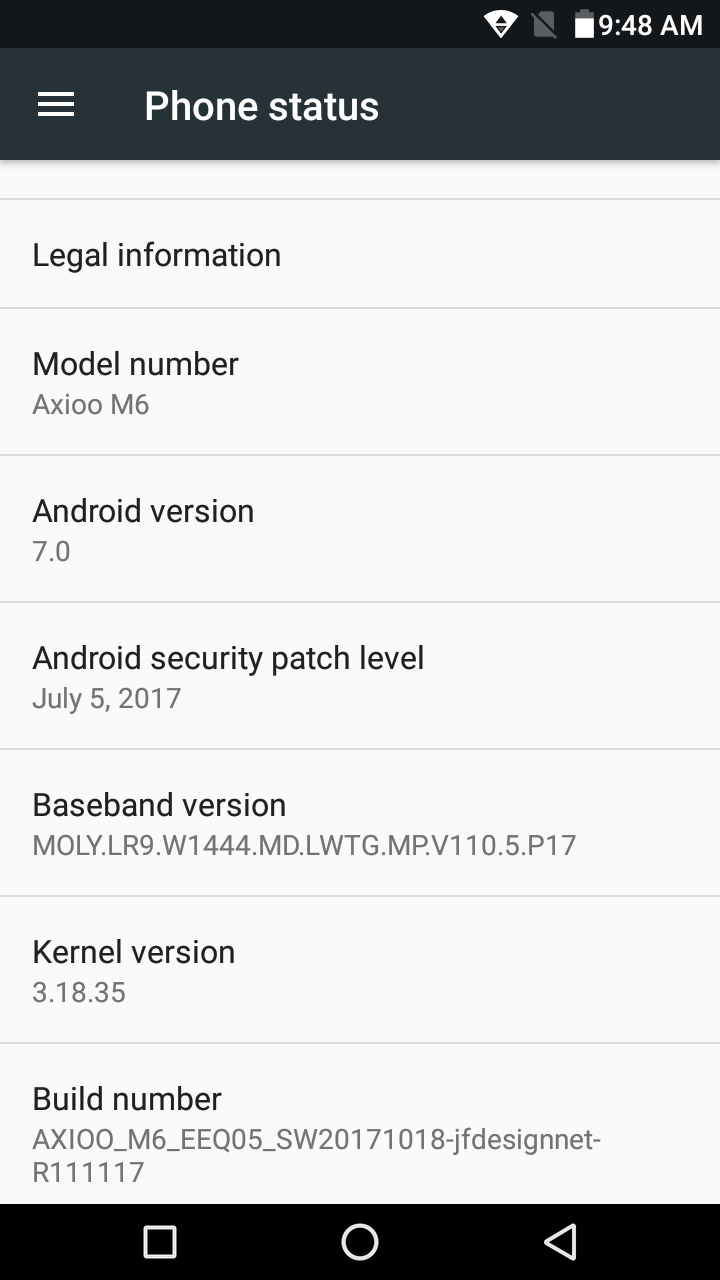
First boot after installation will take some time, roughly around 3 min on my try, so please be patient, it takes time for the system to read all the app odex unto cache. Do not interrupt and make sure you have enough battery power, if not … repeat. If everything goes well, then you may see the screen like these :

Some Notes :
Google Lens
Google Lens is a Pixel exclusive feature that will take your phone’s camera feed and determine what is being pictured. The object can be varied to almost anything, Lens can pick out dates, emails, books, landmarks, famous paintings, and many more. Basically anything that you can found on google images page, will be recognized, yeah, some kind of a visual search engine for images.
I included this feature on this customrom and you can took advantage of it using Google Photos app. Take a picture from camera, open it with Google Photos and press the Lens button , and Lens will trying to determine what the picture is that from Google’s huge image database.
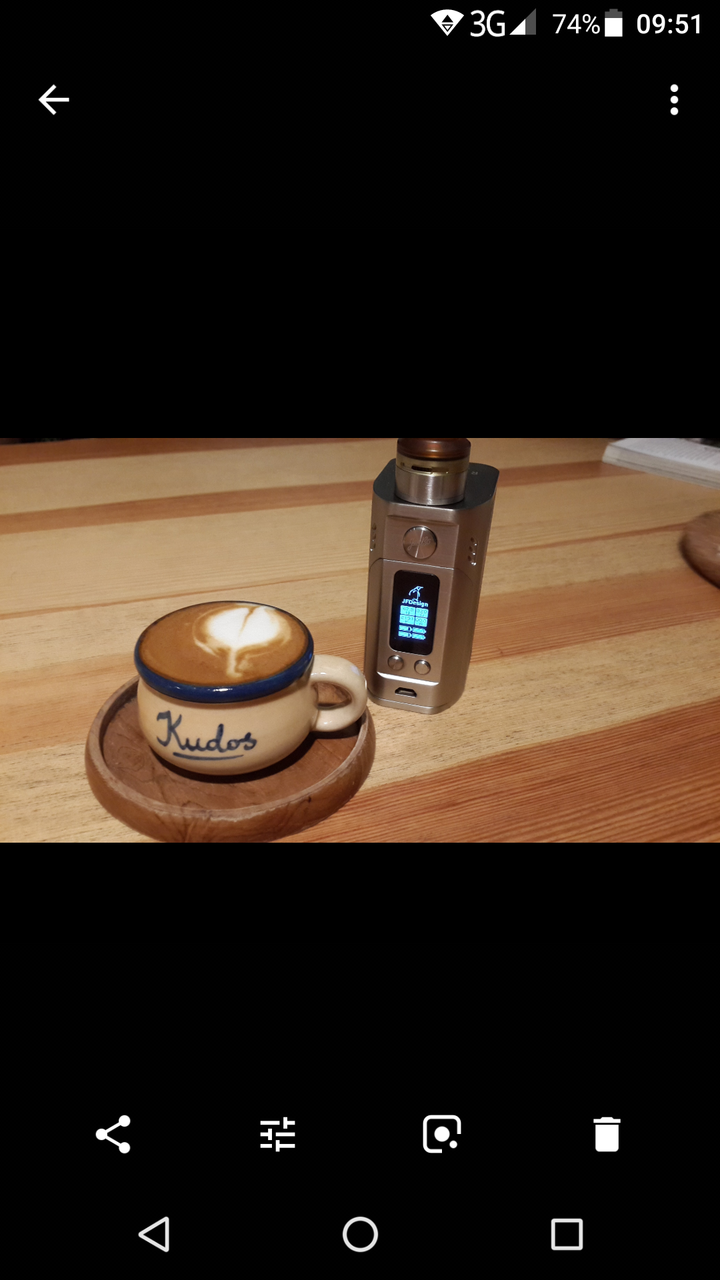
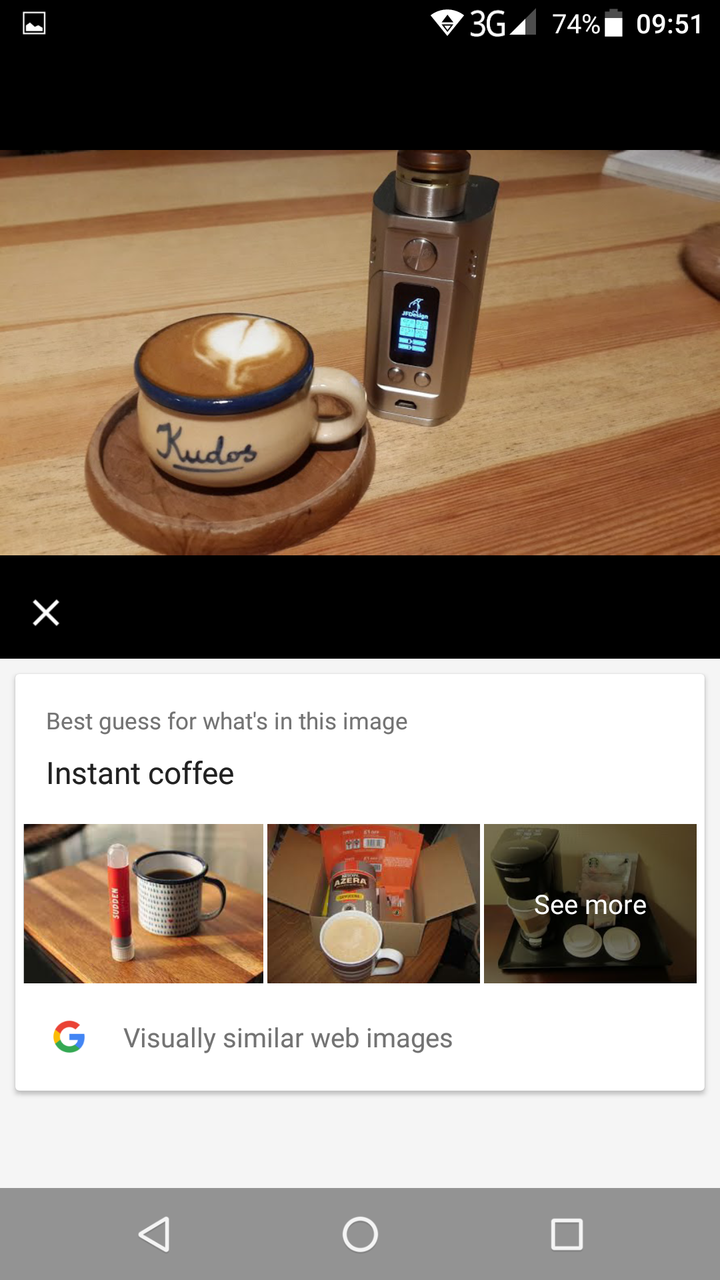
However, as you may see on the result, it doesn’t recognize my wismec nor the kudos cafe, only “instant coffee” that means nothing. The result is correct, not wrong for “instant coffee” but my expectation were so high because it’s Google 🙂 Maybe I have to cut it some slack for now, it’s not ready for primetime.
4G LTE mode switch
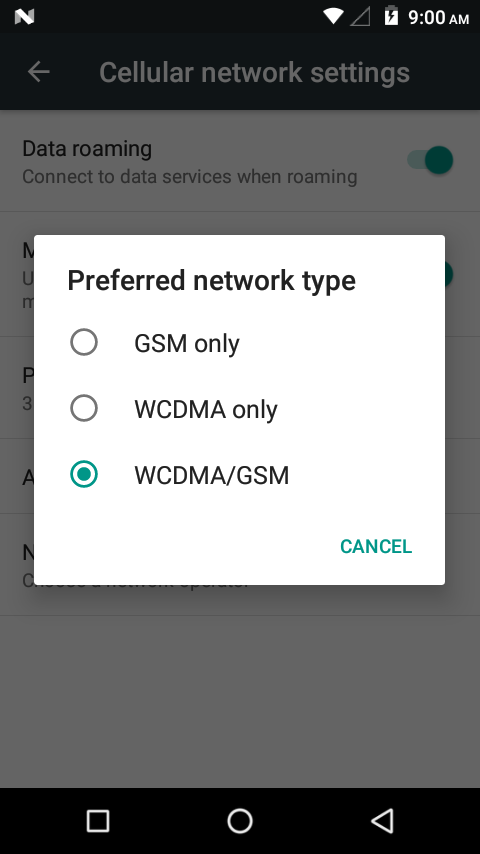
This device model had 4G LTE hardware capability, but the software / rom is set by default to not showing the 4G LTE capability on Settings menu. So, after flashing a new custom rom, if you’re missing the 4G LTE settings menu, then you have to enter a code manually to activate the 4G LTE menu.
Open phone Dialer and enter this code to enable 4G LTE settings menu : *#9902#
Then reboot the device and the 4G LTE feature and settings on this device is all set.
Here is the before and after entering the code on Cellular Data Network Settings menu :


Have fun, enjoy your Axioo M6 and see you !