

I know this Note3 ported rom from Omar who maybe got the source from here. It’s not my intention to ported this rom from the very first, I’m not the biggest fan of touchwiz ui and I never use it on my personal device because of several reason. That time, I only want to help and test some feature for him, but in the end it’s already halfway anyway and finally, I’m deciding to finish this touchwiz version to share for you all.

Here is the complete list of this rom :
Features :
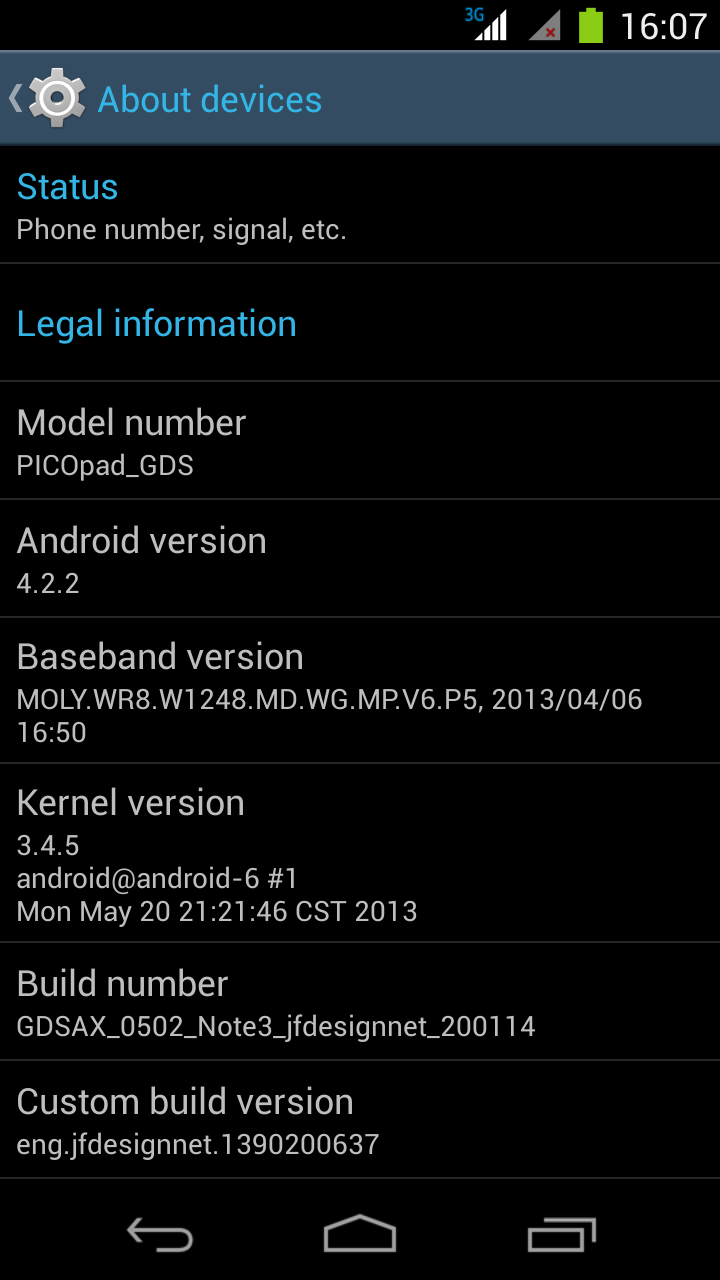
- Android 4.2.2 with 3.4.5 kernel
- Rooted, busybox, fully deodexed, zipaligned
- rooted boot.img
- init.d support + busybox run parts
- gps, bt, hsdpa tweak
- multi languages
- Superuser by Clockworkmod (thanks to Koush)
- entropy generator tweak (thanks to lambgx02)
- Xposed framework (thanks to rovo89 and Tungstwenty)
- GravityBox customization module (thanks to C3C076)
- Note3 rom base (thanks to Deepanshu Agnihotri)
- … something I forgot to list
Here we go the custom rom :
Download : PICOpad_GDS_Note3_signed_012014_155851.zip
Mirror : PICOpad_GDS_Note3_signed_012014_155851.zip
MD5 : fa037b3435b3587995d46e72f44773e4
And here is the steps to flash this custom rom :
Requirement and Preparation :
- Read this thoroughly :
Your warranty is now void !!!
I am not responsible if you brick your phone, get stuck in a bootloop, or if your phone grows arms and tries to kill you. Flash at your own risk!
Please do some research if you have any concerns about risk of flashing a custom rom before continuing! YOU are choosing to make these modifications, and if you point the finger at me for messing up your device, I will laugh at you!!
If you have any other objection, don’t bother to comment, just close this page! - This custom rom need a custom recovery to flashed into the device, if you haven’t got it, get it here : cwm and twrp recovery for PICOpad GDS. Both are working good for this device, get it whichever you like.
Flashing Process :
The steps to flash this custom rom is pretty straight forward :
- Download the custom rom from link above and copy it to the root of your sdcard, you may check it first with your file manager to confirm it was there. There are two sdcard storage on this device, so you must know it’s at the internal sdcard or external sdcard. I prefer you to put this on external sdcard to avoid any difficulties.
- Boot into recovery mode by turning off your phone, hold down Volume + button then press power button, hold them both until you see axioo logo on screen then release it. Wait a sec or two … then you’ll be in recovery mode.
- BACKUP your stock rom and data using BACKUP feature, make sure you use external storage as destination because this backup is relatively big.
- Choose Wipe Data / Factory reset and execute it.
- Choose Wipe cache partition and execute it
- Choose Wipe Dalvik Cache and execute it
- Go back to main menu, and choose Install
- It will open a list of file on your sdcard, choose the custom rom zip file that you put on step 1 and flash it.
- After the installation completed, choose Reboot System
- Done
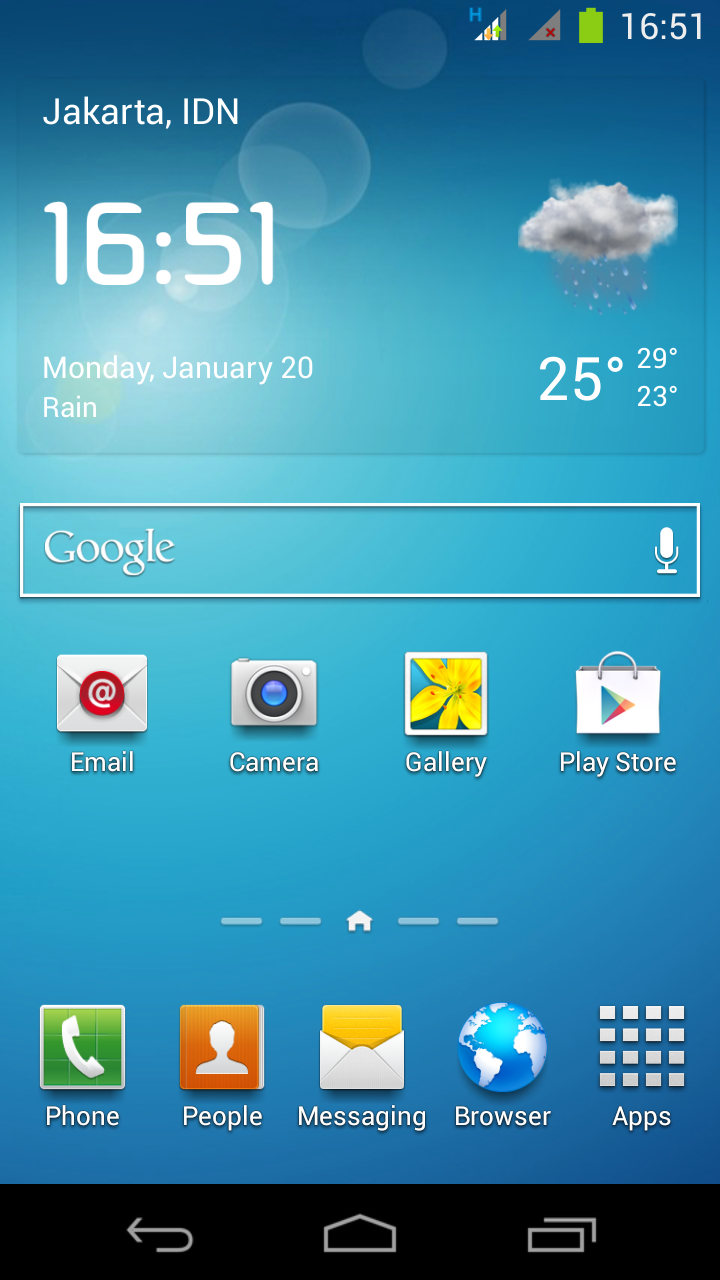
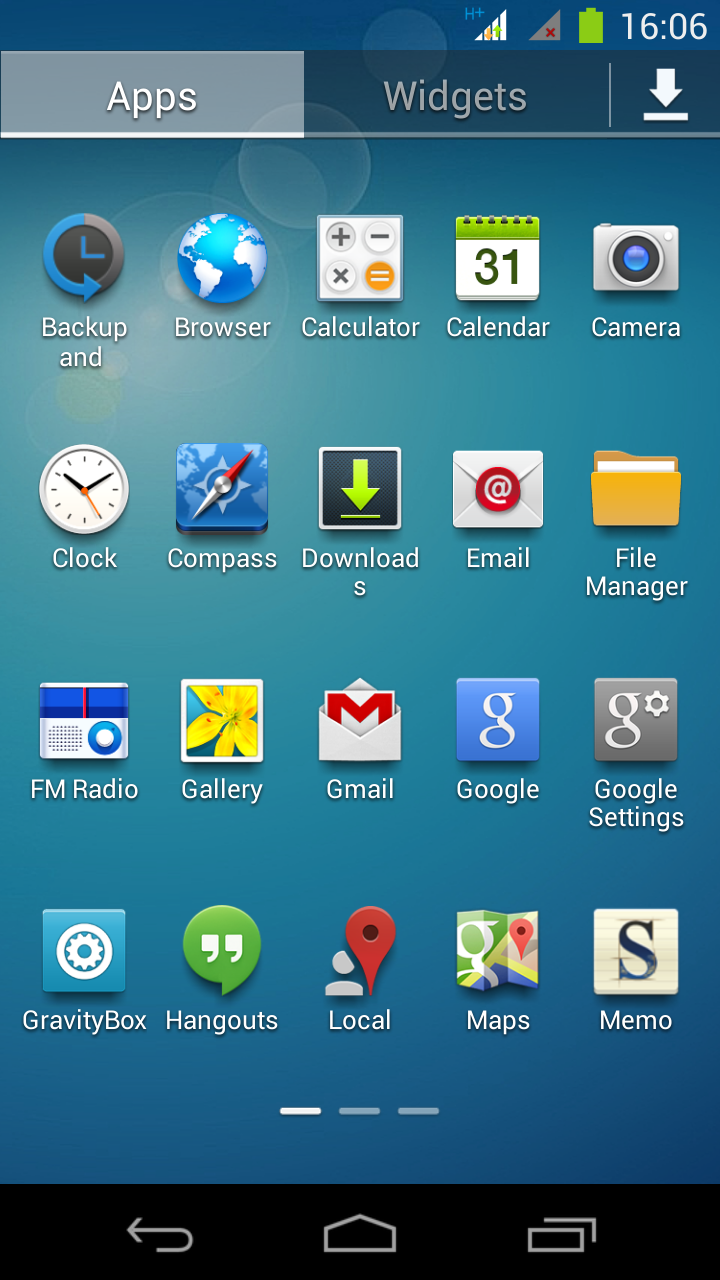
Here is the result after flash :

How to get 8mpx camera resolution
Using Full View on camera application, you will get only 5mpx image resolution. To get the 8mpx resolution you have to change the settings on the camera application from Full View into 4:3 ratio view.
Enjoy your PICOpad GDS