
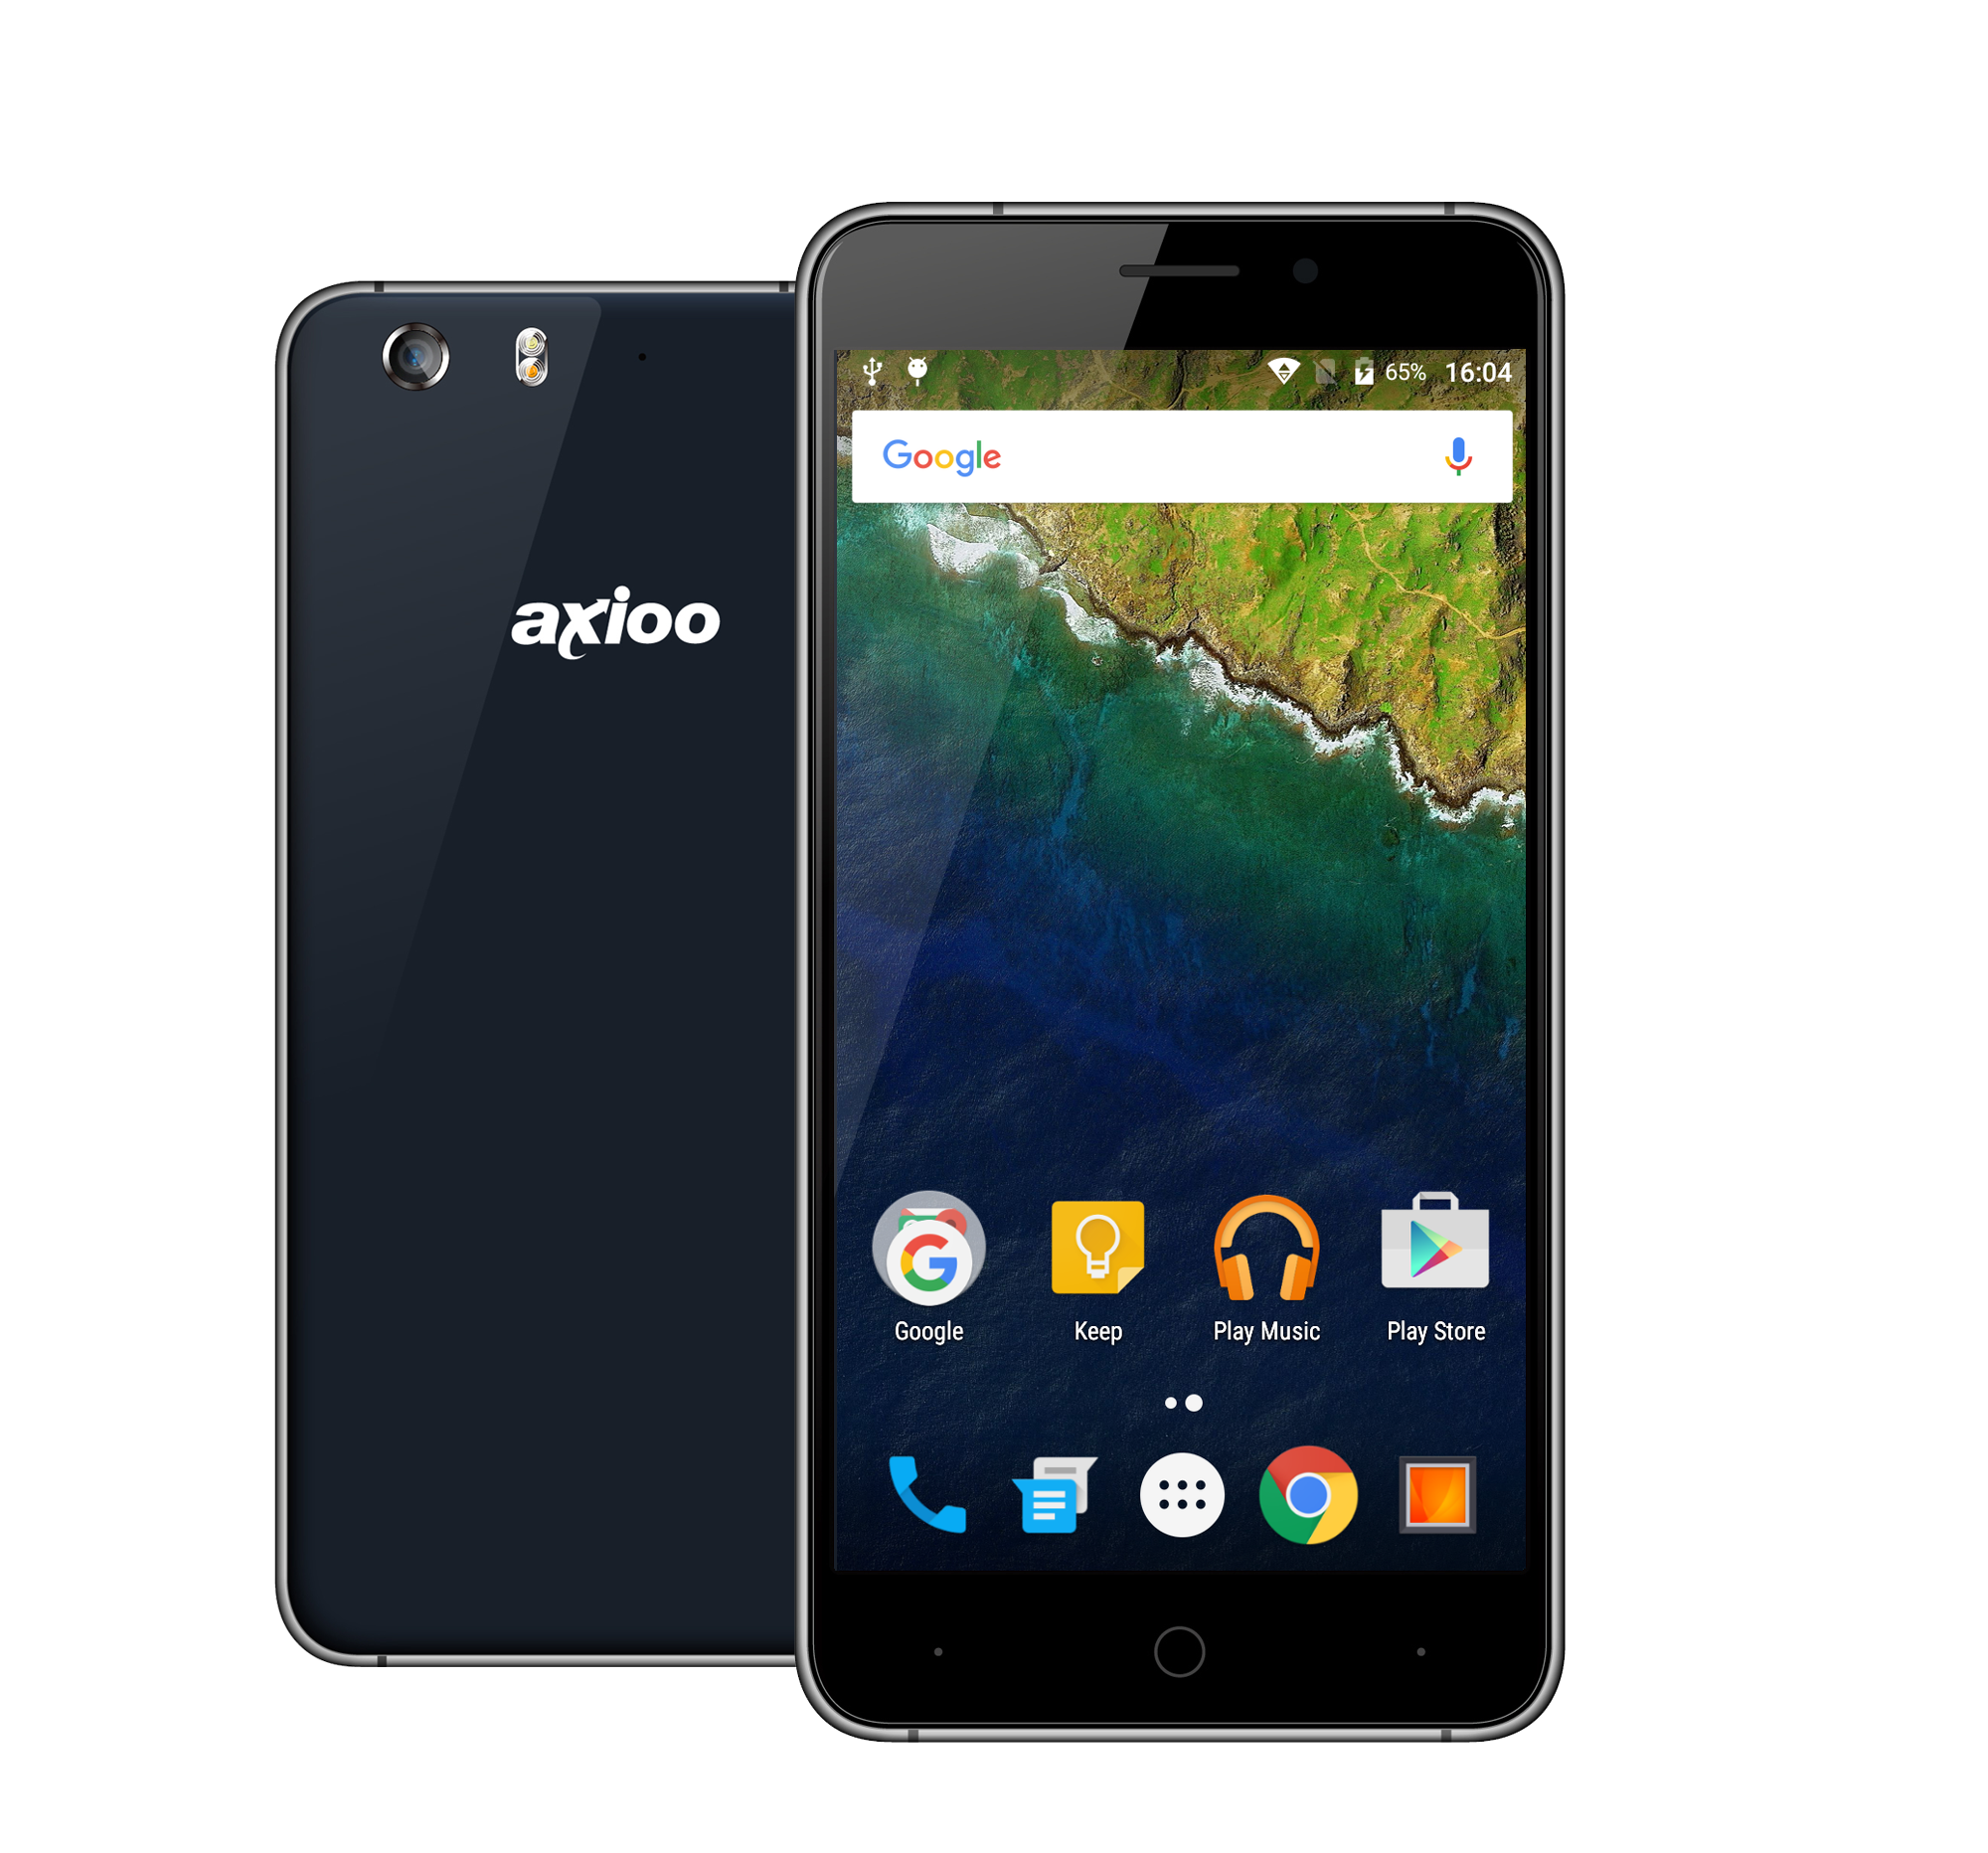
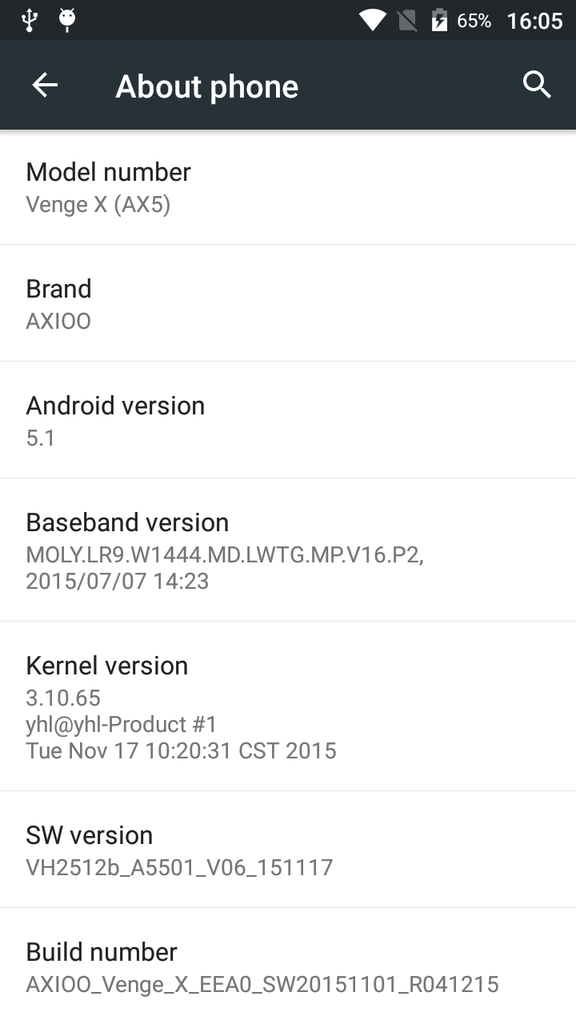
No! It’s not a Nexus 6p! it’s Axioo Venge X. Another release from Axioo with mediatek mt6753 processors, 3Gb ram, Mali T720 gpu with 5.5 inch 720×1280 screen resolution, dual simcard and of course with 4G LTE support.


This is a custom rom for Venge model I made based from stock rom. No major tweak and customization for this release because it’s already good, only removing bloated software to slimdown the size.
Here we go the custom rom :
Download : venge_x_signed_120415_141329.zip
MD5 : 7d057d88715831f06406357155d9ddd8
And here is the steps to flash this custom rom :
Requirement and Preparation :
- Read this thoroughly :
I am not responsible if you brick your phone, get stuck in a bootloop, or if your phone grows arms and tries to kill you. Flash at your own risk!
Please do some research if you have any concerns about risk of flashing a custom rom before continuing! YOU are choosing to make these modifications, and if you point the finger at me for messing up your device, I will laugh at you!!
If you have any other objection, don’t bother to comment, just close this page! - This custom rom need a custom recovery to flashed into the device, if you haven’t got it, get it here : custom recovery for axioo Venge X.
Flashing Process :
The steps to flash this custom rom is slightly different than my previous steps on custom rom flash, please make sure you follow the steps carefully :
- Preparing custom rom zip : Download the custom rom from link above and copy it to the root of your sdcard, you may check it first with your file manager to confirm it was there. There are two sdcard storage on this device, so you must know it’s at the internal sdcard or external sdcard. I prefer you to put this on external sdcard to avoid any difficulties.
- Delete all Google Account : This is important. Make sure you delete all of your Google account before flashing this custom rom. I repeat, go to Settings -> Accounts -> Delete all your Google account. If you forgot this step, the new SetupWizard will ask your google account to restore the userdata reset on your first boot. The stock rom os has a locked bootloader and encrypted data partition as a security breach protection feature and the only way to jumpstart this is by emptying all the Google account before resetting.
- Get into Recovery : Boot into recovery mode by turning off your phone, hold down Volume Up button then press power button, hold them both until you see the recovery menu then release it. The recovery menu will show about 3 options, Recovery, Fastboot and Normal Mode. Select the Recovery options using Volume Up button and press Enter using Volume Down button. Wait a sec or two … then you’ll be in recovery mode.
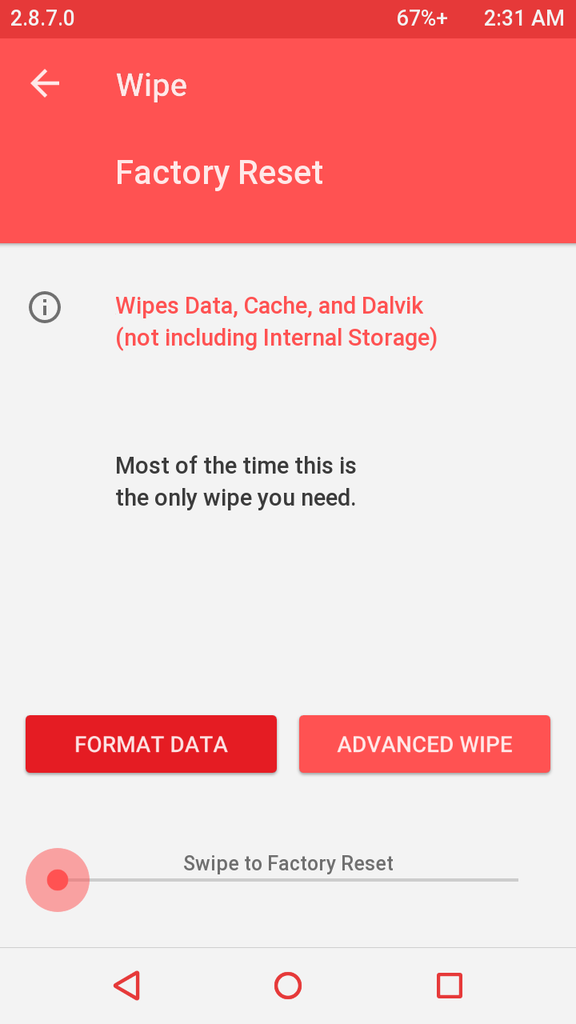
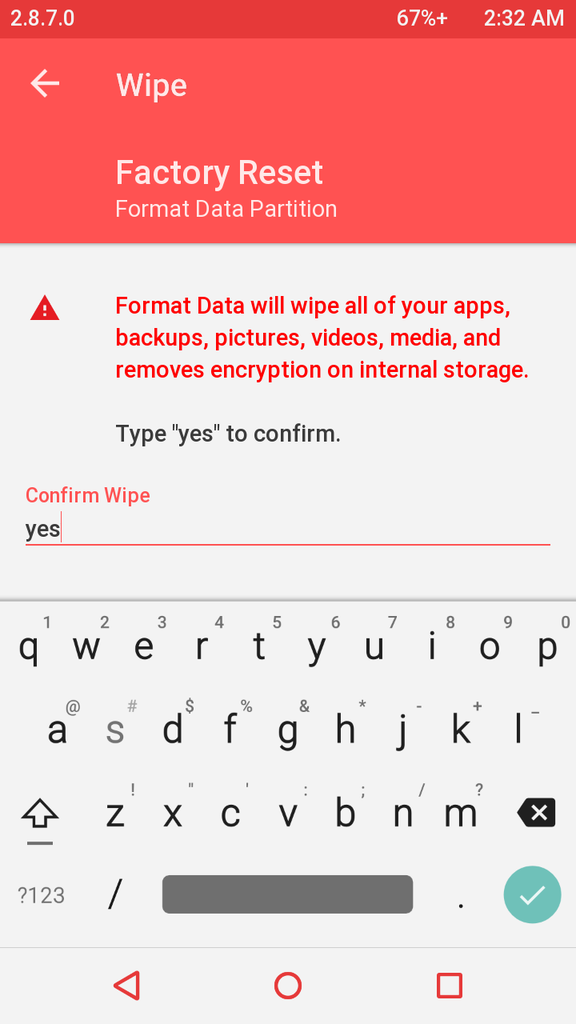
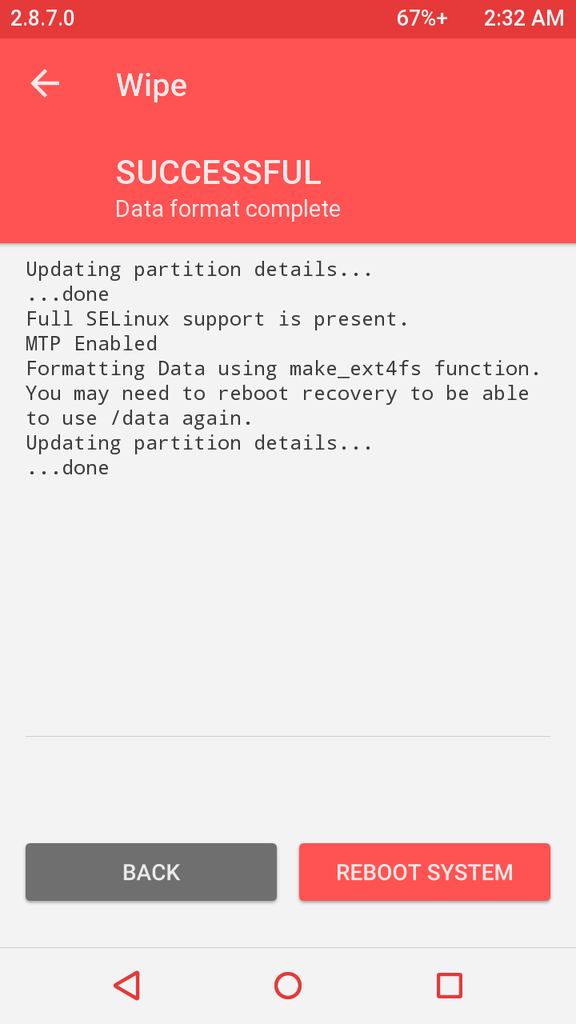
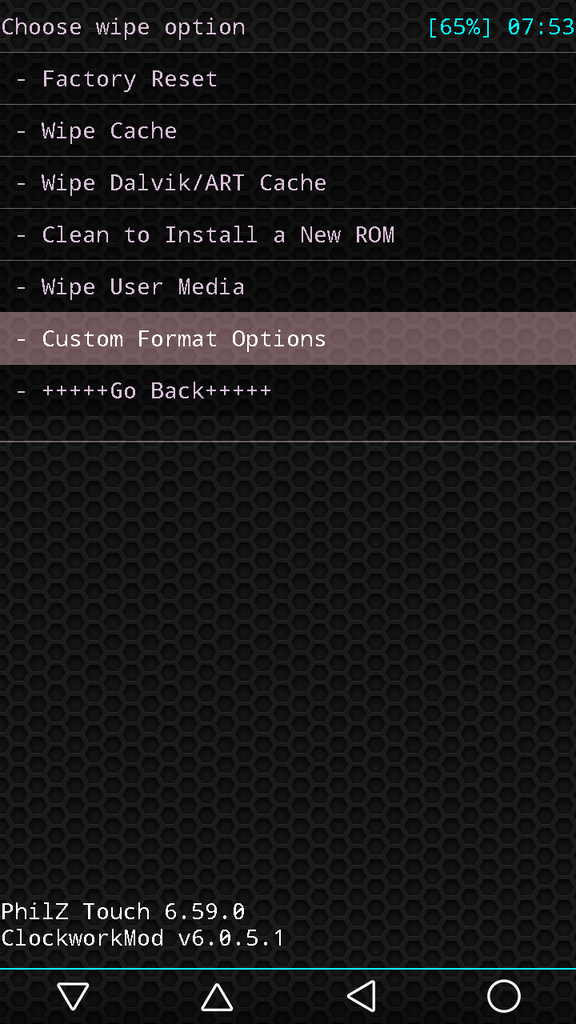
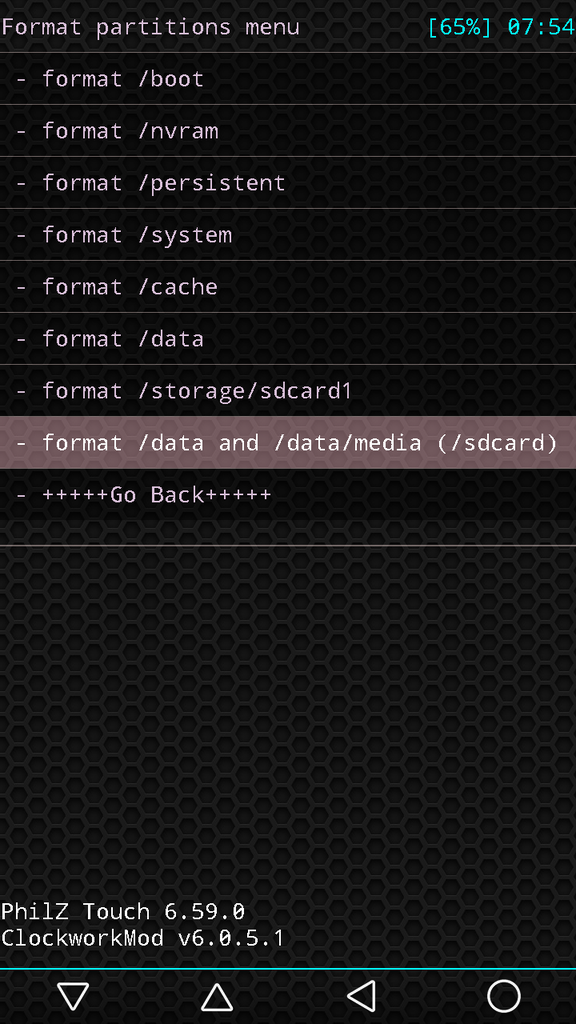
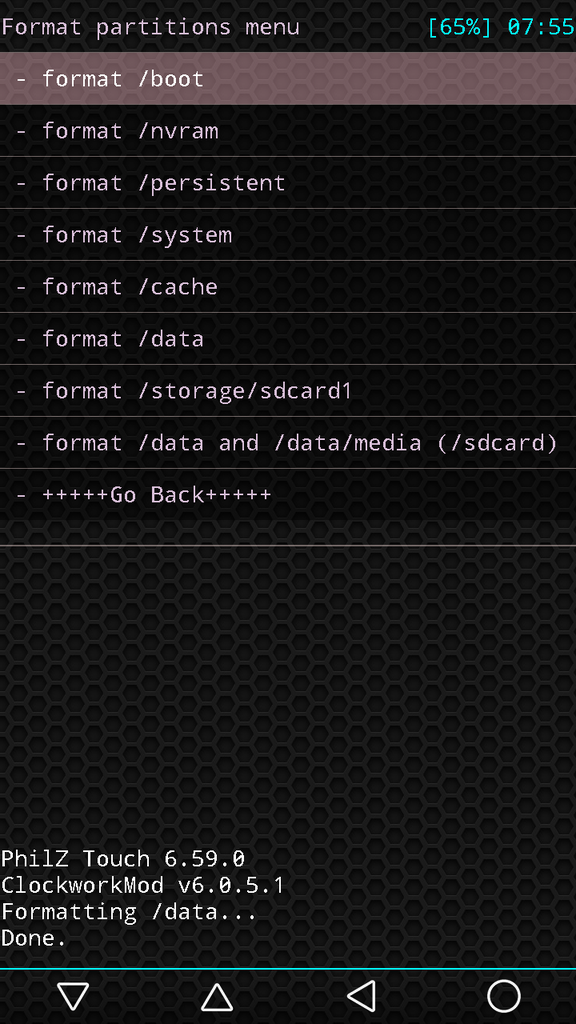
- Format the DATA partition : Since the userdata partition is encrypted by default we have to format this userdata partition before we can use it. Go to WIPE menu on the recovery and FORMAT this /data partition.
- On TWRP you can use WIPE menu -> FORMAT DATA

- On PhilZ you can use Custom Format Options -> Format /data and /data/media
- Wipe cache partition : Choose Wipe cache partition and execute it
- Install the custom rom zip : Go to Install, choose the storage location where you put the custom rom on step 1 and install it.
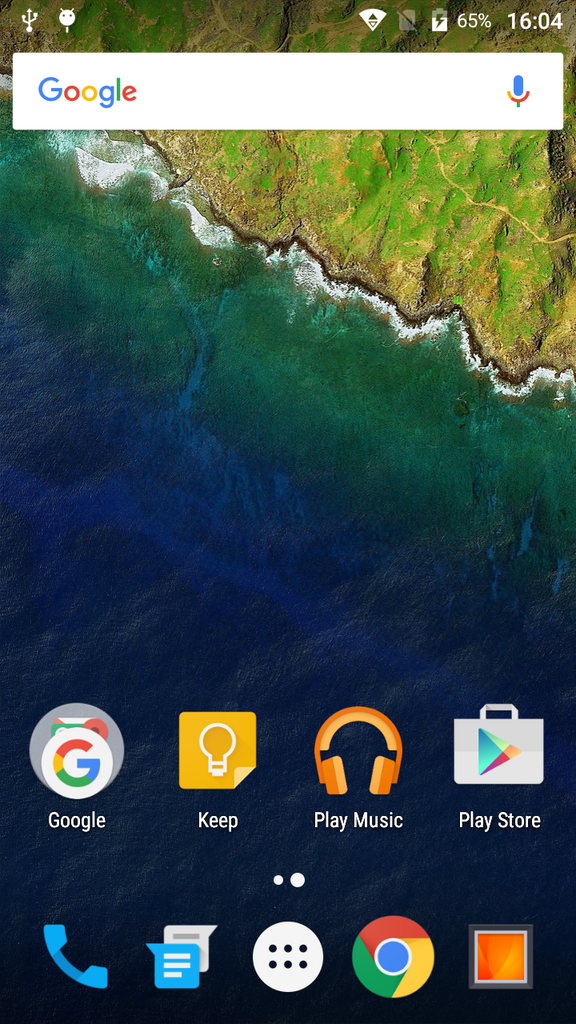
- Installation completed : After the installation completed, choose Reboot System
- Done
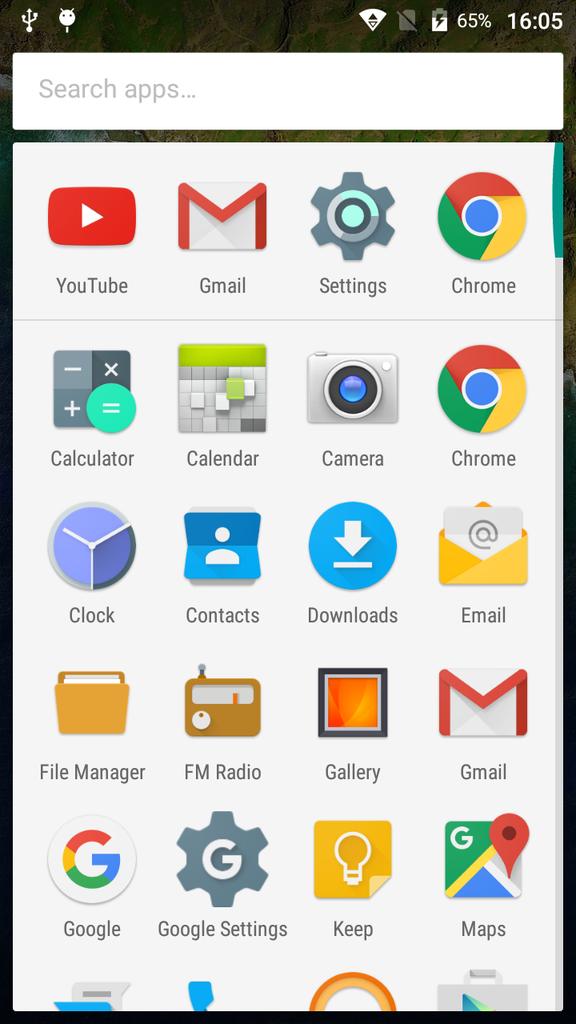
Here is the screenshots :

Another Notes :
ROOT :
After flashing this custom rom, if you need to get root for this custom rom you can easily flashing it using my custom recovery also . Find the latest SuperSU from chainfire and flash them from recovery.
XPosed Framework :
This custom rom also support Xposed Framework, and here is how to install it on lollipop :
- Get the latest Xposed Framework installer zip : http://forum.xda-developers.com/showthread.php?t=3034811
make sure you choose the 32bit package xposed-v78-sdk22-arm.zip and flash it from recovery. - After flashing the Xposed Installer, you will also need the Xposed Module Manager application XposedInstaller_3.0_alpha4.apk to manage all of your xposed module. Download it from the same link as above and install it.
- Check if the Xposed framework installed correctly and happy customizing.
Miracast Sink Feature :
This Venge X device has a builtin Miracast sink device that can be use as a mirror or receiver for another Miracast display cast. True, it’s a common feature for any smartphone and tablets to have the Miracast display server since kitkat release, but how many of you seeing a miracast sink device? … it’s not so often I think … well, at least for me. 🙂 not even on all my marshmallow nexus devices.
Still don’t get it what I’m talking about? it’s ok, see this just for fun :
OK, that’s it for my share, see you next time and enjoy your Venge X device.