
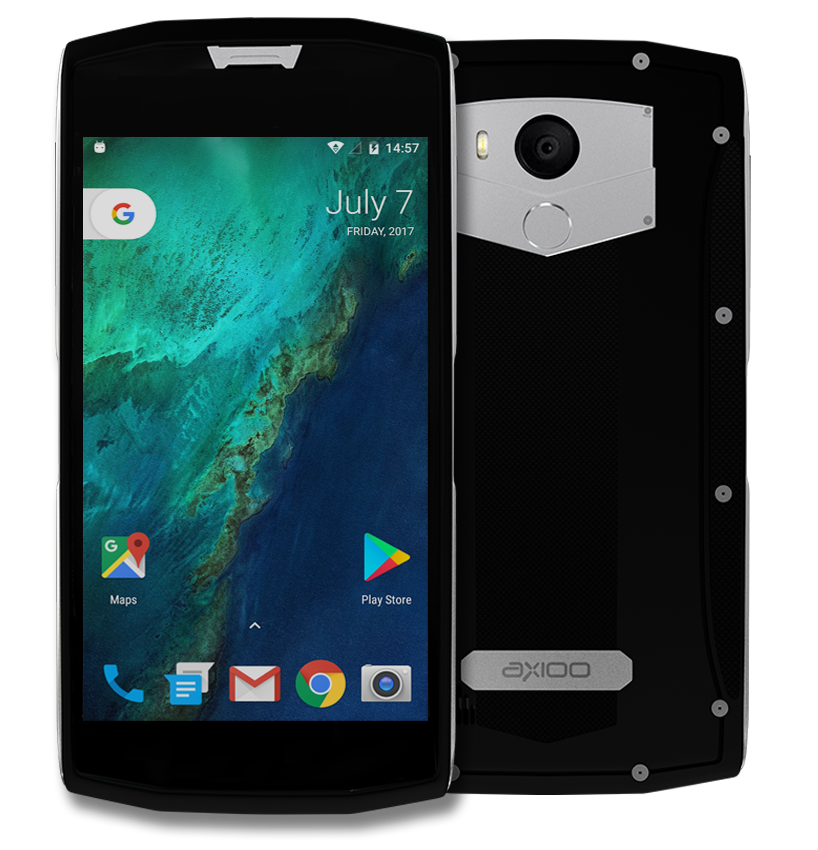
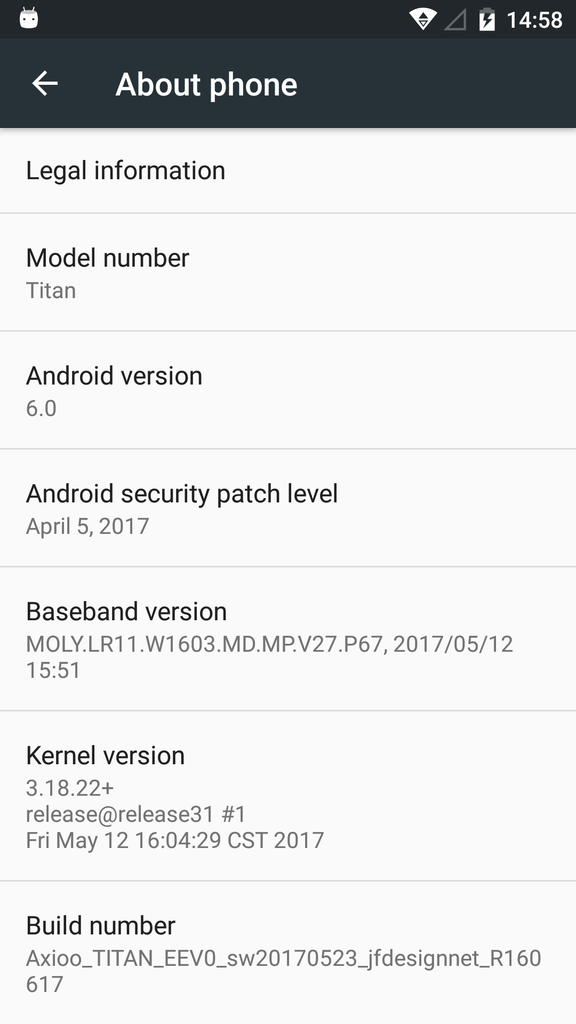
This Titan model is one of the high end release from axioo which equipped with powerful feature and specs such as octa core mt6750, fullhd resolution, fingerprint, 64Gb internal storage, 4Gb RAM and so on, you may refer to the axiooworld web to find out the complete specs.

This custom rom I made for this model is still same as the stock rom but this is rooted and fully configured to adapt the android experience including Now and Assistant. I’m not trying to mimic other phone, only wants to know what kind of google experience they offer on their pixel model and all the bunch of their prime applications, but of course on a lower budget 🙂 Gather all of them at the end of day and create the custom rom and share here.
OK, right into the point, here is the ROM :
Download : titan_160617-signed.zip
MD5 : d1cb58101fed7c40817a24afc937d4de
Update 170717 :
Download : titan_170717-signed.zip
MD5 : f5b71b0f3e8e4b4289ef2c66dcaff5e3
And here is the steps to flash this custom rom :
Requirement and Preparation :
- Read this thoroughly :
I am not responsible if you brick your phone, get stuck in a bootloop, or if your phone grows arms and tries to kill you. Flash at your own risk!
Please do some research if you have any concerns about risk of flashing a custom rom before continuing! YOU are choosing to make these modifications, and if you point the finger at me for messing up your device, I will laugh at you!!
If you have any other objection, don’t bother to comment, just close this page! - This custom rom needs a custom recovery to flashed into the device, if you haven’t got it, get it here : custom recovery for axioo Titan
- Delete all Google Account : This is not mandatory, but I only wants to make this as a habit. Some stock rom was protected by FRP (Factory Reset Protection) by Google as a prevention to avoid theft. This protection will confuse newbies while triggered and gives a lot of headache if they forgot the google password. By deleting the Google account first before flashing a new custom rom will disable this protection, this will make their day (and me 🙂 ) a lot of easier.
So please do this as a habit, remove all the google account before flashing any custom rom. if not only for smooth flashing progress, this is also good for your own security.
Flashing Process :
The steps to flash this custom rom is easy as always, but for you who are not familiar with flashing custom roms, please make sure you follow the steps carefully :
- Preparing custom rom zip : Download the custom rom from link above and copy it to the root of your sdcard, you may check it first with your file manager to confirm it was there. There are two sdcard storage on this device, so you must know it’s at the internal sdcard or external sdcard. I prefer you to put this on external sdcard to avoid any difficulties.
- Get into Recovery : Boot into recovery mode by turning off your phone, hold down Volume Up button then press power button, hold them both until you see the recovery menu then release it. The recovery menu will show about 3 options, Recovery, Fastboot and Normal Mode. Select the Recovery options using Volume Up button and press Enter using Volume Down button. Wait a sec or two … then you’ll be in recovery mode.
- Wipe All (Factory Reset) : Go to the Wipe Menu and choose Wipe All or Factory Reset. This will erase all the contents of data partition and start from scratch. This is important step before flashing a custom rom. You will have a buggy OS if you’re start using the data not from clean.
If you’re from stock rom, the data partition is encrypted by default, and while you want to Wipe All, the recovery will also ask to Format because it cannot wipe if not format first. Of course you have to confirm yes for that. Make sure this data partition got wiped, you even can do this twice to nail it 🙂 - Install the custom rom zip : Go to Install Zip, choose the storage location where you put the custom rom on step 1 and install it. Sdcard is for your sdcard and ExtraSD for internal storage
- Installation completed : After the installation completed, choose Reboot System
- Done
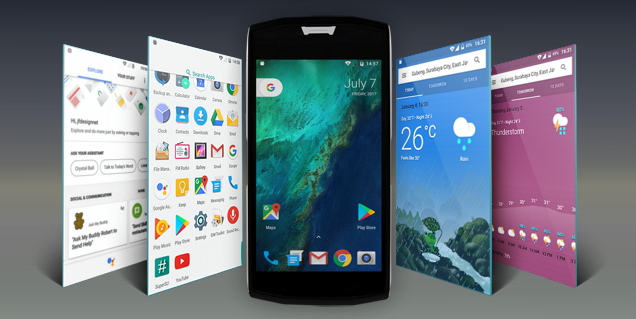
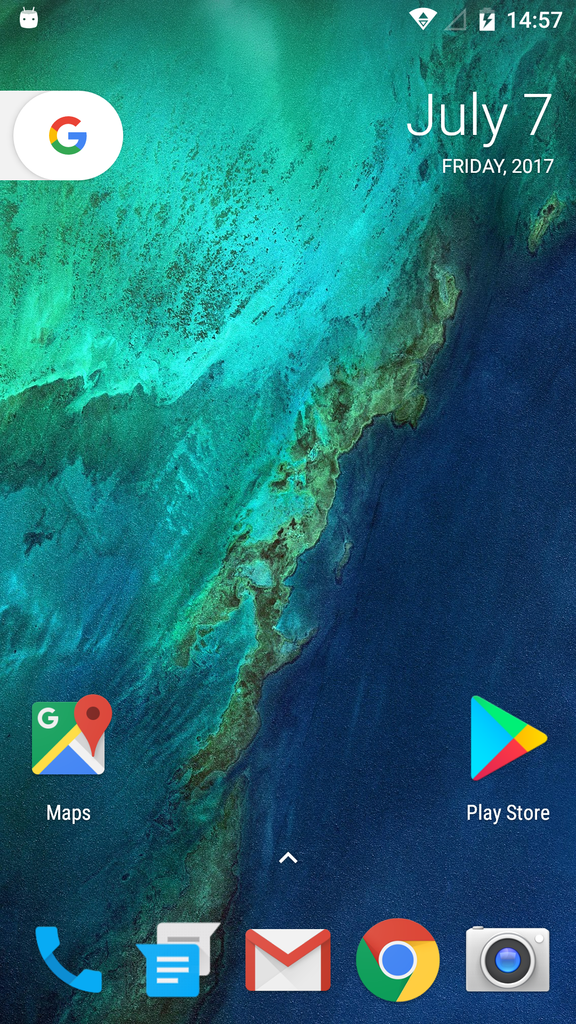
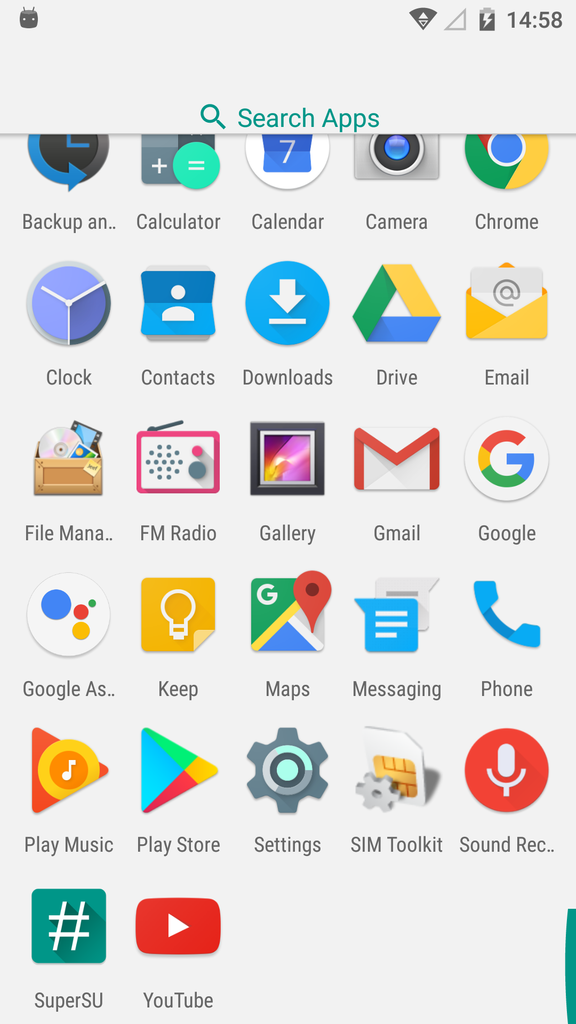
First boot after installation will take some time, roughly around 5 min on my try, so please be patient, it takes time for the system to read all the app odex unto cache. Do not interrupt and make sure you have enough battery power, if not … repeat. If everything goes well, then you may see the screen like these :

Another Notes :
Background auto-clean memory
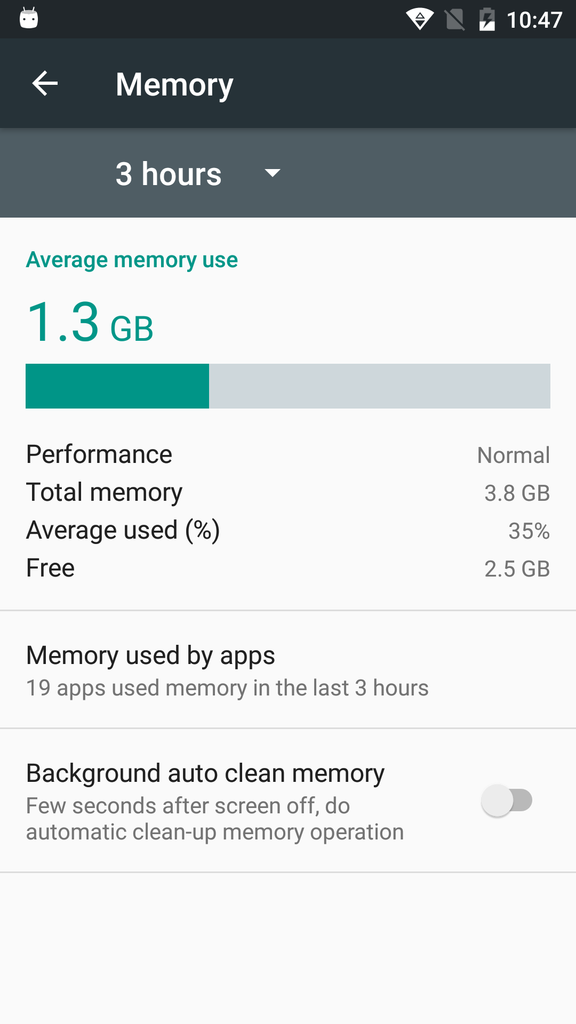
This is useless and I call this stupid. I don’t understand why this automatic task killer is still valid. This is 2017, the ART memory management in android today was way better than in Gingerbread dalvik at 2010. The memory manager will close apps that need to be closed, typically ones that have been dormant for a while or are using more power or memory than they should. And they’re very good at knowing when you’re going to need data, or want a refresh, or open an app again. You’re far, far better off letting the system work for you rather than forcing it to re-open and re-start everything every time.
So, clean the memory periodically is not doing good for performance increase, what about battery life? same ! Closing all apps periodically to save the battery only makes things worse. Apps that are already in memory open quickly, rather than having to fully start again. It’s like waking your computer from sleep rather than rebooting it completely and draw a lot more power.
This device has 4gb memory, just use it and forget, the android memory management will do the cleaning and optimizing automatically for you. I don’t know about you, but I’ll turn OFF this task killer on the day one and be more productive.
Google Assistant
Lately, I’ve been playing with Google Assistant a lot for my hobby. It’s not for the conversation though, but rather to the SDK feature that can communicate with electronics world. It was only a simple raspberry pi that I use as a google assistant appliance with speaker and mic to control some of my IoT modules, usually for home automation such as switch, dimmer, weather station and such, that using mqtt as the main protocol. So, while I already have all that within my reach, then I try the google assistant I put on this titan model and give it a try … and you know what?, it was working all good. I can command the assistant to switch on my bedroom lights, turn on my HiFi and TV, give a full report from thingspeak that collect data from my weather station, and so on, it’s all working well as I expected.
The only obstacle on this titan model is how to access the Google Assistant. On all my nexus devices, to enter the google assistant is by using long press on Home button, but on this titan model, the long press Home button goes to Recent Apps screen and cannot be redirected nor disabled, thus I create a simple apk to launch this Assistant directly from app-drawer and I name it as GoogleAssistantLauncher. You can find this kind of similar apk also on the net or playstore but I rather go build myself since I cannot trust them for adware or malware. I include this GoogleAssistantLauncher on this custom rom for you to use.
First thing before you can use this GoogleAssistantLauncher is you have to setup the Google Asistant itself. Here is how : Launch the Google app (a white icon with Google logo on launcher) and then Sign In to your google account. Complete the Google Now setup, Get Started, and Yes, I’m in. From now on you can use the Google Assistant Launcher to launch Assistant. And ooh … don’t forget, on first Assistant launch, you have to supply the sample for OK Google word 3 times, don’t skip this step, and then your Assistant is ready to receive your command.
Furthermore, there is a nice feature on this titan model that named as SmartKey which is the button on the right side near the bottom of the device :

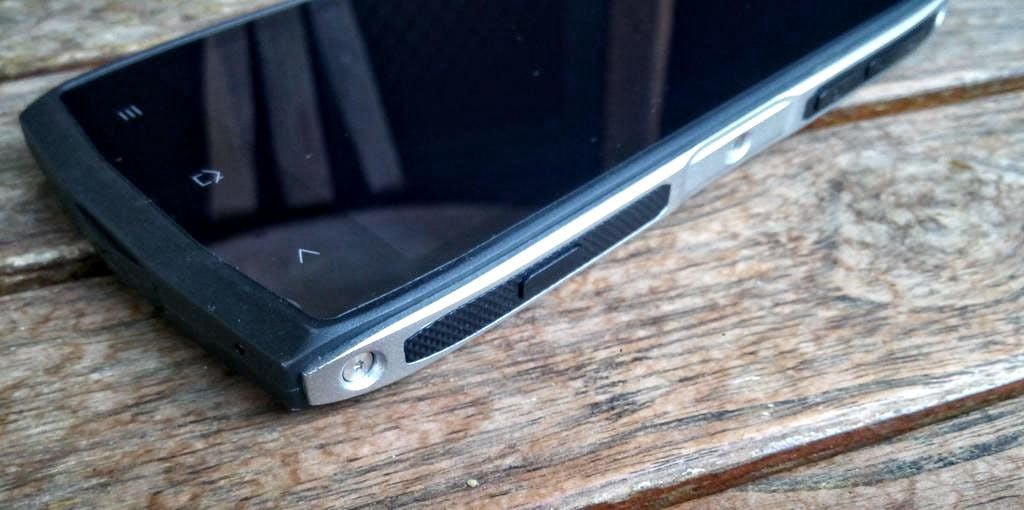
You may configure this one mighty button to do special task such as running a pre-configured shortcut like flashlight, cam or running some apps. Great, right? and I think why not use this button as the Google Assistant button?
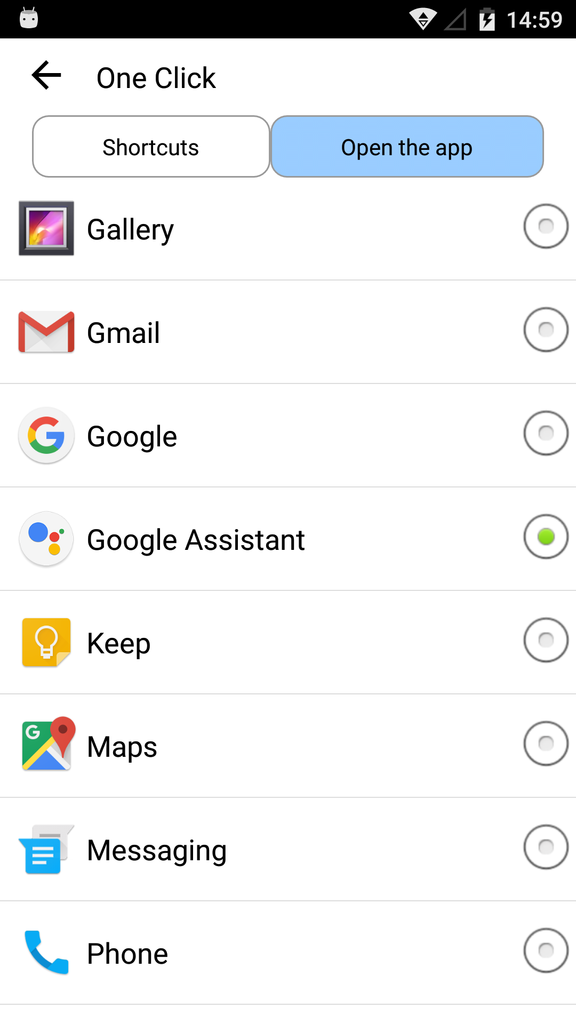
To achieve this is easy peasy, just go to Settings –> SmartKey, then define One Click function to run my GoogleAssistantLauncher apk I mention earlier and done.
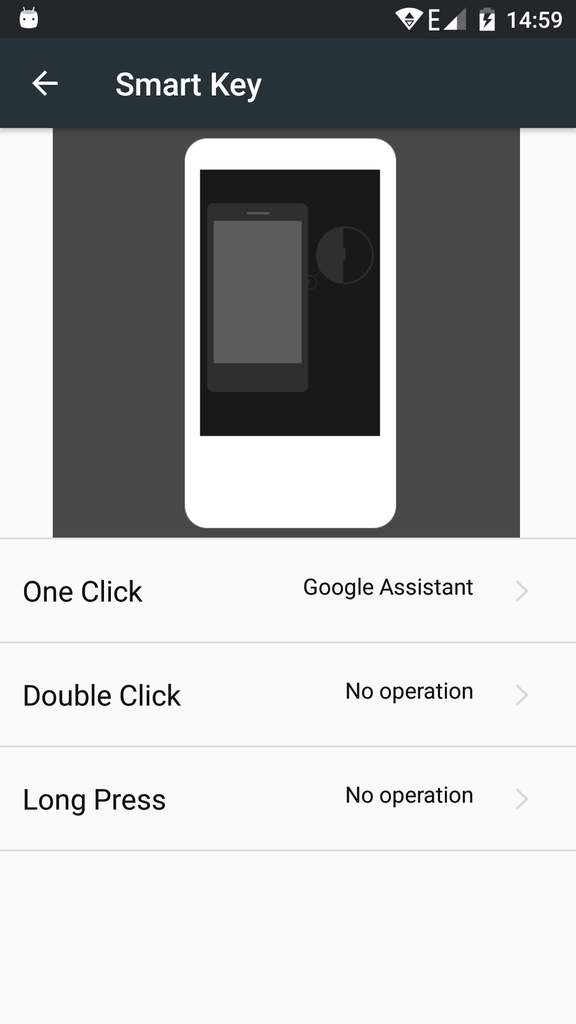
From now on, you can just unlock the device using fingerprint, press this Smartkey button and command your assistant to do things with your voice, just like jarvis.
Furthermore, you may also then combine this with IFTTT or even Tasker to get a much more complex tasks, the possibilities is limitless.
I understand this Google Assistant is not for everyone though, some say this is annoying, some say this is brilliant, some also say wtf and I also hear some go to hell word 🙂
It’s okay, diversity is good and I think is enough for now …
Enjoy your Titan and See you !