

As you may already know, PICOpad GFI had some variant which has different type of peripheral device on it, such as wlan, bluetooth, gps and camera type. After some time can not make the module wlan and gps works well, suddenly a friend of mine (Norm) told me that there was a developer from china.iphone.ru named X-Dron who successfully turned all the modules in Haipai-X720D or Star-N9776 working. The wlan and gps module chipset on this model is the same mt6620 chipset as on PICOpad GFI, so I stole the module that was pre-compiled with 3.4.0 kernel on it, create the new custom rom and share here so you all can take the benefit.
Here are the ingredients of the new custom rom :
- see the complete list of tweaks i’ve done before on old release custom rom
- fix root and replace superuser with supersu
- rooted boot.img
- some dalvikvm performance tweak (different from the old one)
- init.d support (of course)
- some gapps 4.2 applications (launcher, camera, gallery w/ picasa, googleplaymusic, chrome, new gmail, contacts, clock, keyboard, sound and fonts)
- entropy generator tweak (thanks to lambgx02)
- MultiDPI playstore hack (thanks to MyLifeRocks10)
- mt6620 module hacks kernel 3.4.0 (thanks to yuweng and X-Dron)
And here is the custom rom update release 130313 for PICOpad GFI with mt6620 chipset :
Download : picopad_gfi_mt6620_signed_031313_124605.zip
MD5sum : d0975b6b61240d18e43f92ad3398a5d4
Known Limitation :
This is not actually a limitation, but since so many question about this, so ... better to explain here. Photosphere not working and will never works on this picopad GFI since photosphere needs gyroscope to work. There is no gyroscope sensor on the picopad GFI. Here is the capture between my galaxy nexus and this picopad gfi sensors :

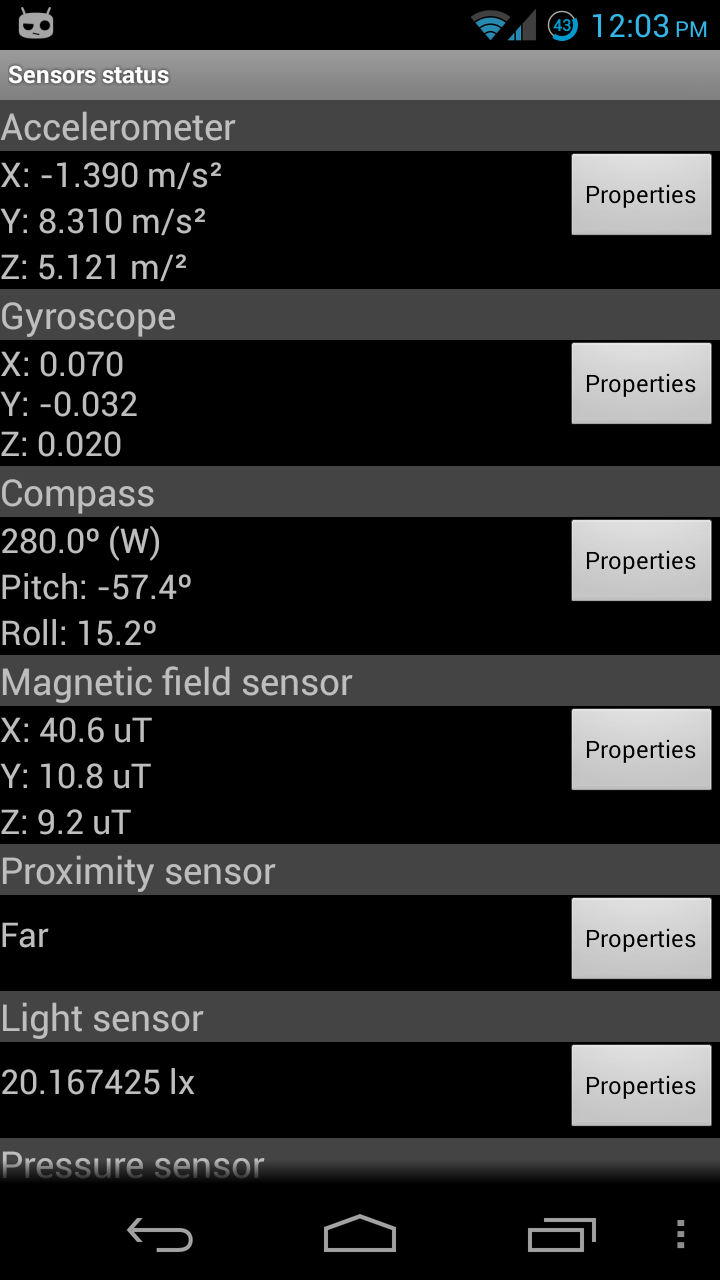

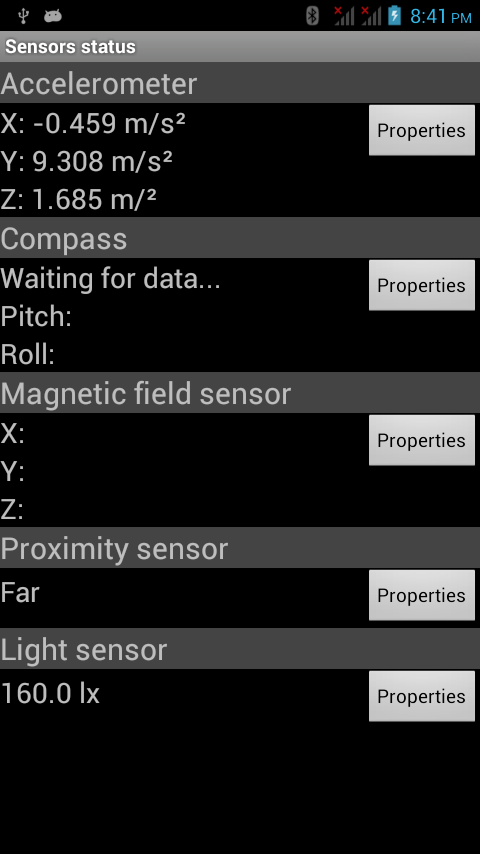
So, this isn’t a bug, and don’t bother asking why photosphere not working, ok ?
And here is the steps to flash this custom rom :
Requirement and Preparation :
- Read this thoroughly :
Your warranty is now void !!!
I am not responsible if you brick your phone, get stuck in a bootloop, or if your phone grows arms and tries to kill you. Flash at your own risk!
Please do some research if you have any concerns about risk of flashing a custom rom before continuing! YOU are choosing to make these modifications, and if you point the finger at me for messing up your device, I will laugh at you!!
If you have any other objection, don’t bother to comment, just close this page! - This custom rom need a custom recovery to flashed into the device, if you haven’t got it, get it here : TWRP and CWM recovery PICOpad GFI. Both are working good for this device, get it whichever you like, but personally I prefer TWRP more than CWM for this device because of their feature to backup the camera type setting, trust me, you’ll gonna need this for not to screwed the camera setting and the IMEI numbers. From now on, i will assume we are using TWRP recovery for this flashing process
Flashing Process :
The steps to flash this custom rom is pretty straight forward :
- Download the custom rom from link above and copy it to the root of your sdcard, you may check it first with your file manager to confirm it was there. There are two sdcard storage on picopad GFI so you must know it’s at the internal sdcard or external sdcard. I prefer you put this on external sdcard to avoid any difficulties.
- Boot into recovery mode by turning off your phone, hold down Volume + button then press power button, hold them both until you see axioo logo on screen then release it. Wait a sec or two … then you’ll be in TWRP recovery mode.
- BACKUP your stock rom and data using BACKUP feature, make sure you use external storage as destination because this backup is relatively big.
- This is IMPORTANT STEP!!!
BACKUP your camera setting and IMEI using this tutorial : backup camera settings and imei using twrp
Make sure you can restore the backup by trying it first. I warn you, do not continue if you don’t done this backup properly. - Choose Wipe Data / Factory reset and execute it
- Choose Wipe cache partition and execute it
- Choose Wipe Dalvik Cache and execute it
- Go back to main menu by touching the Home icon, and choose Install
- It will open a list of file on your sdcard, choose the custom rom zip file that you put on step 1 and flash it by swiping the slider.
- After the installation completed, choose Reboot System
- Try the new custom rom and check the IMEI numbers and your camera (back and front), if it lost, not working or turned upside down, go back to recovery mode and restore your backup of imei and camera setting on step 4. See? the backup is very important.
Here is the result after flash :


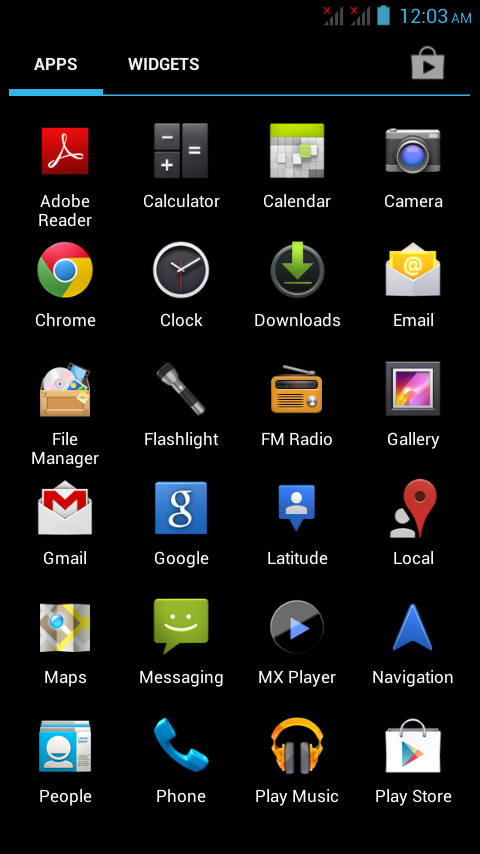
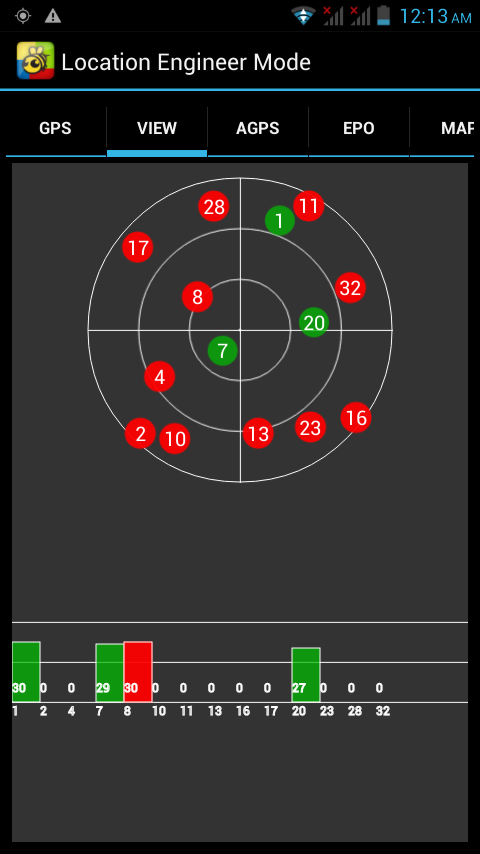

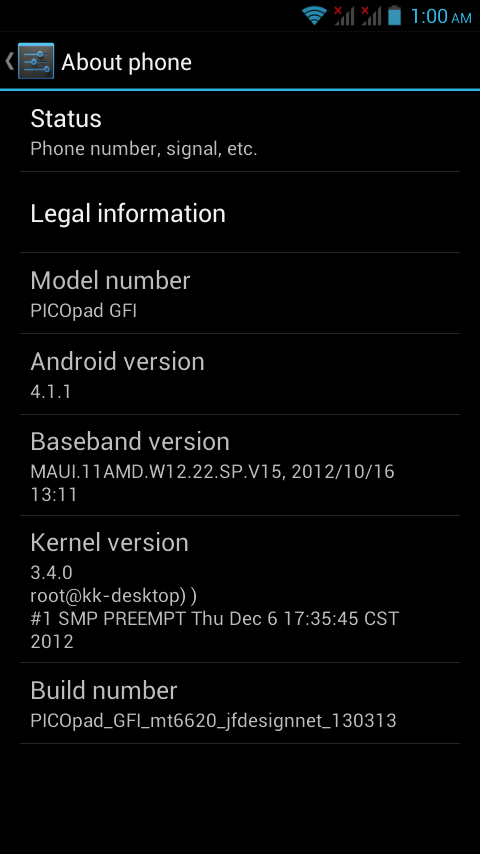
Feel the difference before and after using the custom rom especially the responsiveness.
Enjoy your PICOpad GFI on steroids.
Added on 16032013 :
Here is the custom rom in SPMDT format :
Part1 : picopad_gfi_mt6620_signed_031313_124605_SPMDT.part1.rar
Part2 : picopad_gfi_mt6620_signed_031313_124605_SPMDT.part2.rar