
Finally I’ve got the PICOpad GFI with the default software build number 20121027 in hand. As you may see from my last custom ROM PICOpad GFI article before, I was build the custom rom using the old device (with software build number 20121026) that had a different type of WLAN with this new axioo release. Not just that, the back camera, front camera and also LCD type were different. The problem appear when user with new device release (20121027) flashing their device with that custom rom for old device release, then WLAN, bluetooth and camera was surely dead … so I have to made a new custom ROM for this device release.

Rather than using ICS, this time I build on Jelly bean 4.1.1 release, still same cooked using dsixda kitchen with almost same as previous :
- 6 rows x 4 columns 200 dpi lcd density (most comfortable for me, not too tiny for my old eyes)
- sysctl tweak for increasing internet network performance (basically it’s a common network ip4 tweak from klixs, but it is working good on my galaxy nexus custom rom)
- some battery performance tweak (forgot where i get this from, only copy pasteing from my tomboy, sorry)
- some dalvikvm performance tweak (forgot too where i get this from, sorry)
- some gps performance tweak (from here)
- rooted with su, busybox, and Superuser.apk included (from here)
- no more bloated GOlauncher
- some custom artwork
- deodexed apps and framework from stock rom
…. so if you had this kind of device with software version 20121027 release, here we go the custom ROM :
for 20121027 release : picopad_gfi_20121206_jfdesignnet_6628_201212_0934
MD5 : 2387e5bdd5c15764141297d259e5f48f
… and for you on device with 20121026 release, here is the link
for 20121026 release : picopad_gfi_20121206_jfdesignnet_6620_201212_0952
MD5 : b520276a8343ad6f846a1721b5a8fba5
And here is the steps to flash this custom rom to your axioo picopad GFI :
Requirement and Preparation :
- Read this thoroughly :
Your warranty is now void !!!
I am not responsible if you brick your phone, get stuck in a bootloop, or if your phone grows arms and tries to kill you. Flash at your own risk!
Please do some research if you have any concerns about risk of flashing a custom rom before continuing! YOU are choosing to make these modifications, and if you point the finger at me for messing up your device, I will laugh at you!!
If you have any other objection, don’t bother to comment, just close this page! - This custom ROM is not for noobs, it is not for faint hearted, because in this article I will not explain how to get CWM recovery for your picopad GFI. The process and tools how to get cwm recovery is somewhat winblows centric, and i don’t like either to discuss nor explain, so you must find yourself a way how to get those CWM to your device. At least, I can show you the way, here is the path to go there : http://forum.xda-developers.com/showthread.php?t=1825722 . You may also visit this site for other useful tools and info : http://frans.web.id/2012/12/cwm-recovery-untuk-picopad-gfi/
Flashing Process :
The steps to flash this custom rom is pretty straight forward :
- Download the custom rom from link above and copy it to the root of your sdcard, you may check it first with your file manager to confirm it was there. There are two sdcard storage on picopad GFI so you must know it’s at the internal sdcard or external sdcard.
- Boot into clockworkmod CWM recovery mode by turning off your phone, hold down Volume + button then press power button, hold them both until you see axioo logo appear then release it. Wait a sec or two … then you’re now in cwm recovery mode, you can navigate it through the menu using volume + and – button, and to executing the highlight menu you can press power button.
- BACKUP your stock rom and data using nandroid backup first !!!
- Choose Wipe Data / Factory reset and execute it
- Choose Wipe cache partition and execute it
- Go to Advanced menu, choose Wipe Dalvik Cache and execute it
- Go back to main menu, and choose Install Recovery from sdcard menu and execute it
- If you were put the custom rom on the internal sdcard, then choose Install from internal sdcard, otherwise choose Install from external sdcard. Navigate to the custom rom location and execute it. There will be a confirmation once again, and of course choose Yes.
- After the installation completed, go back to main menu and choose Reboot System Now
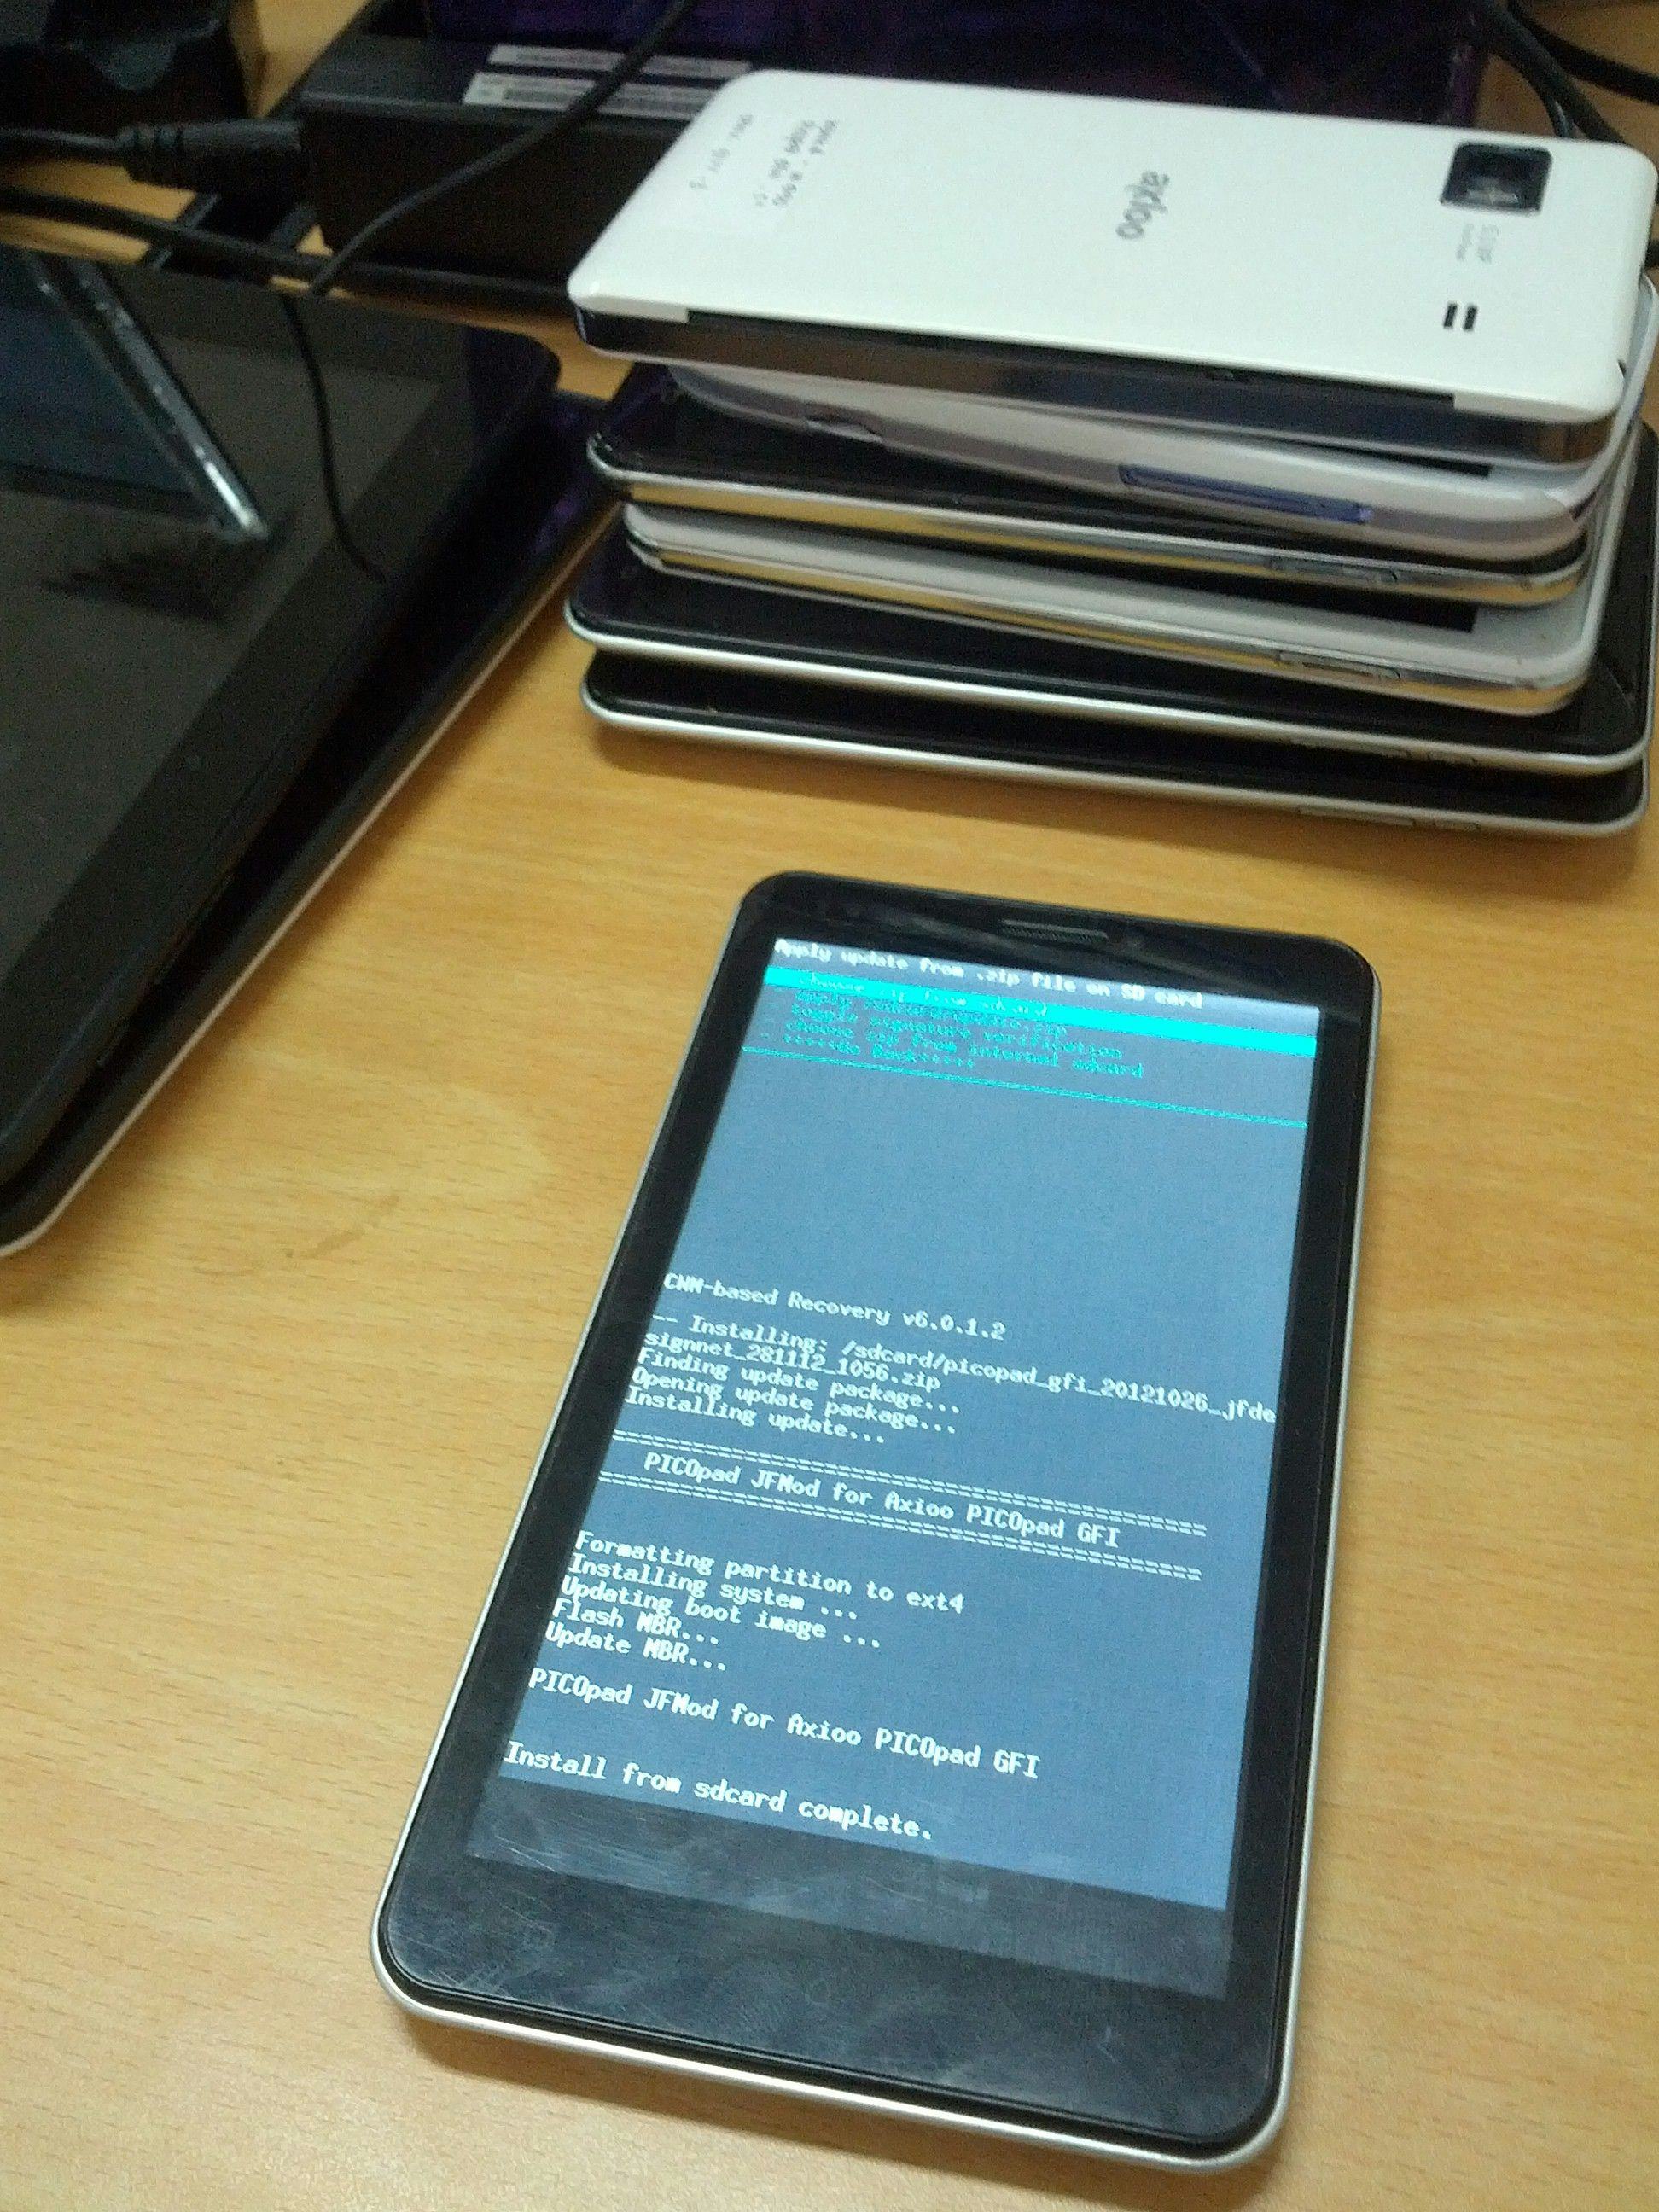
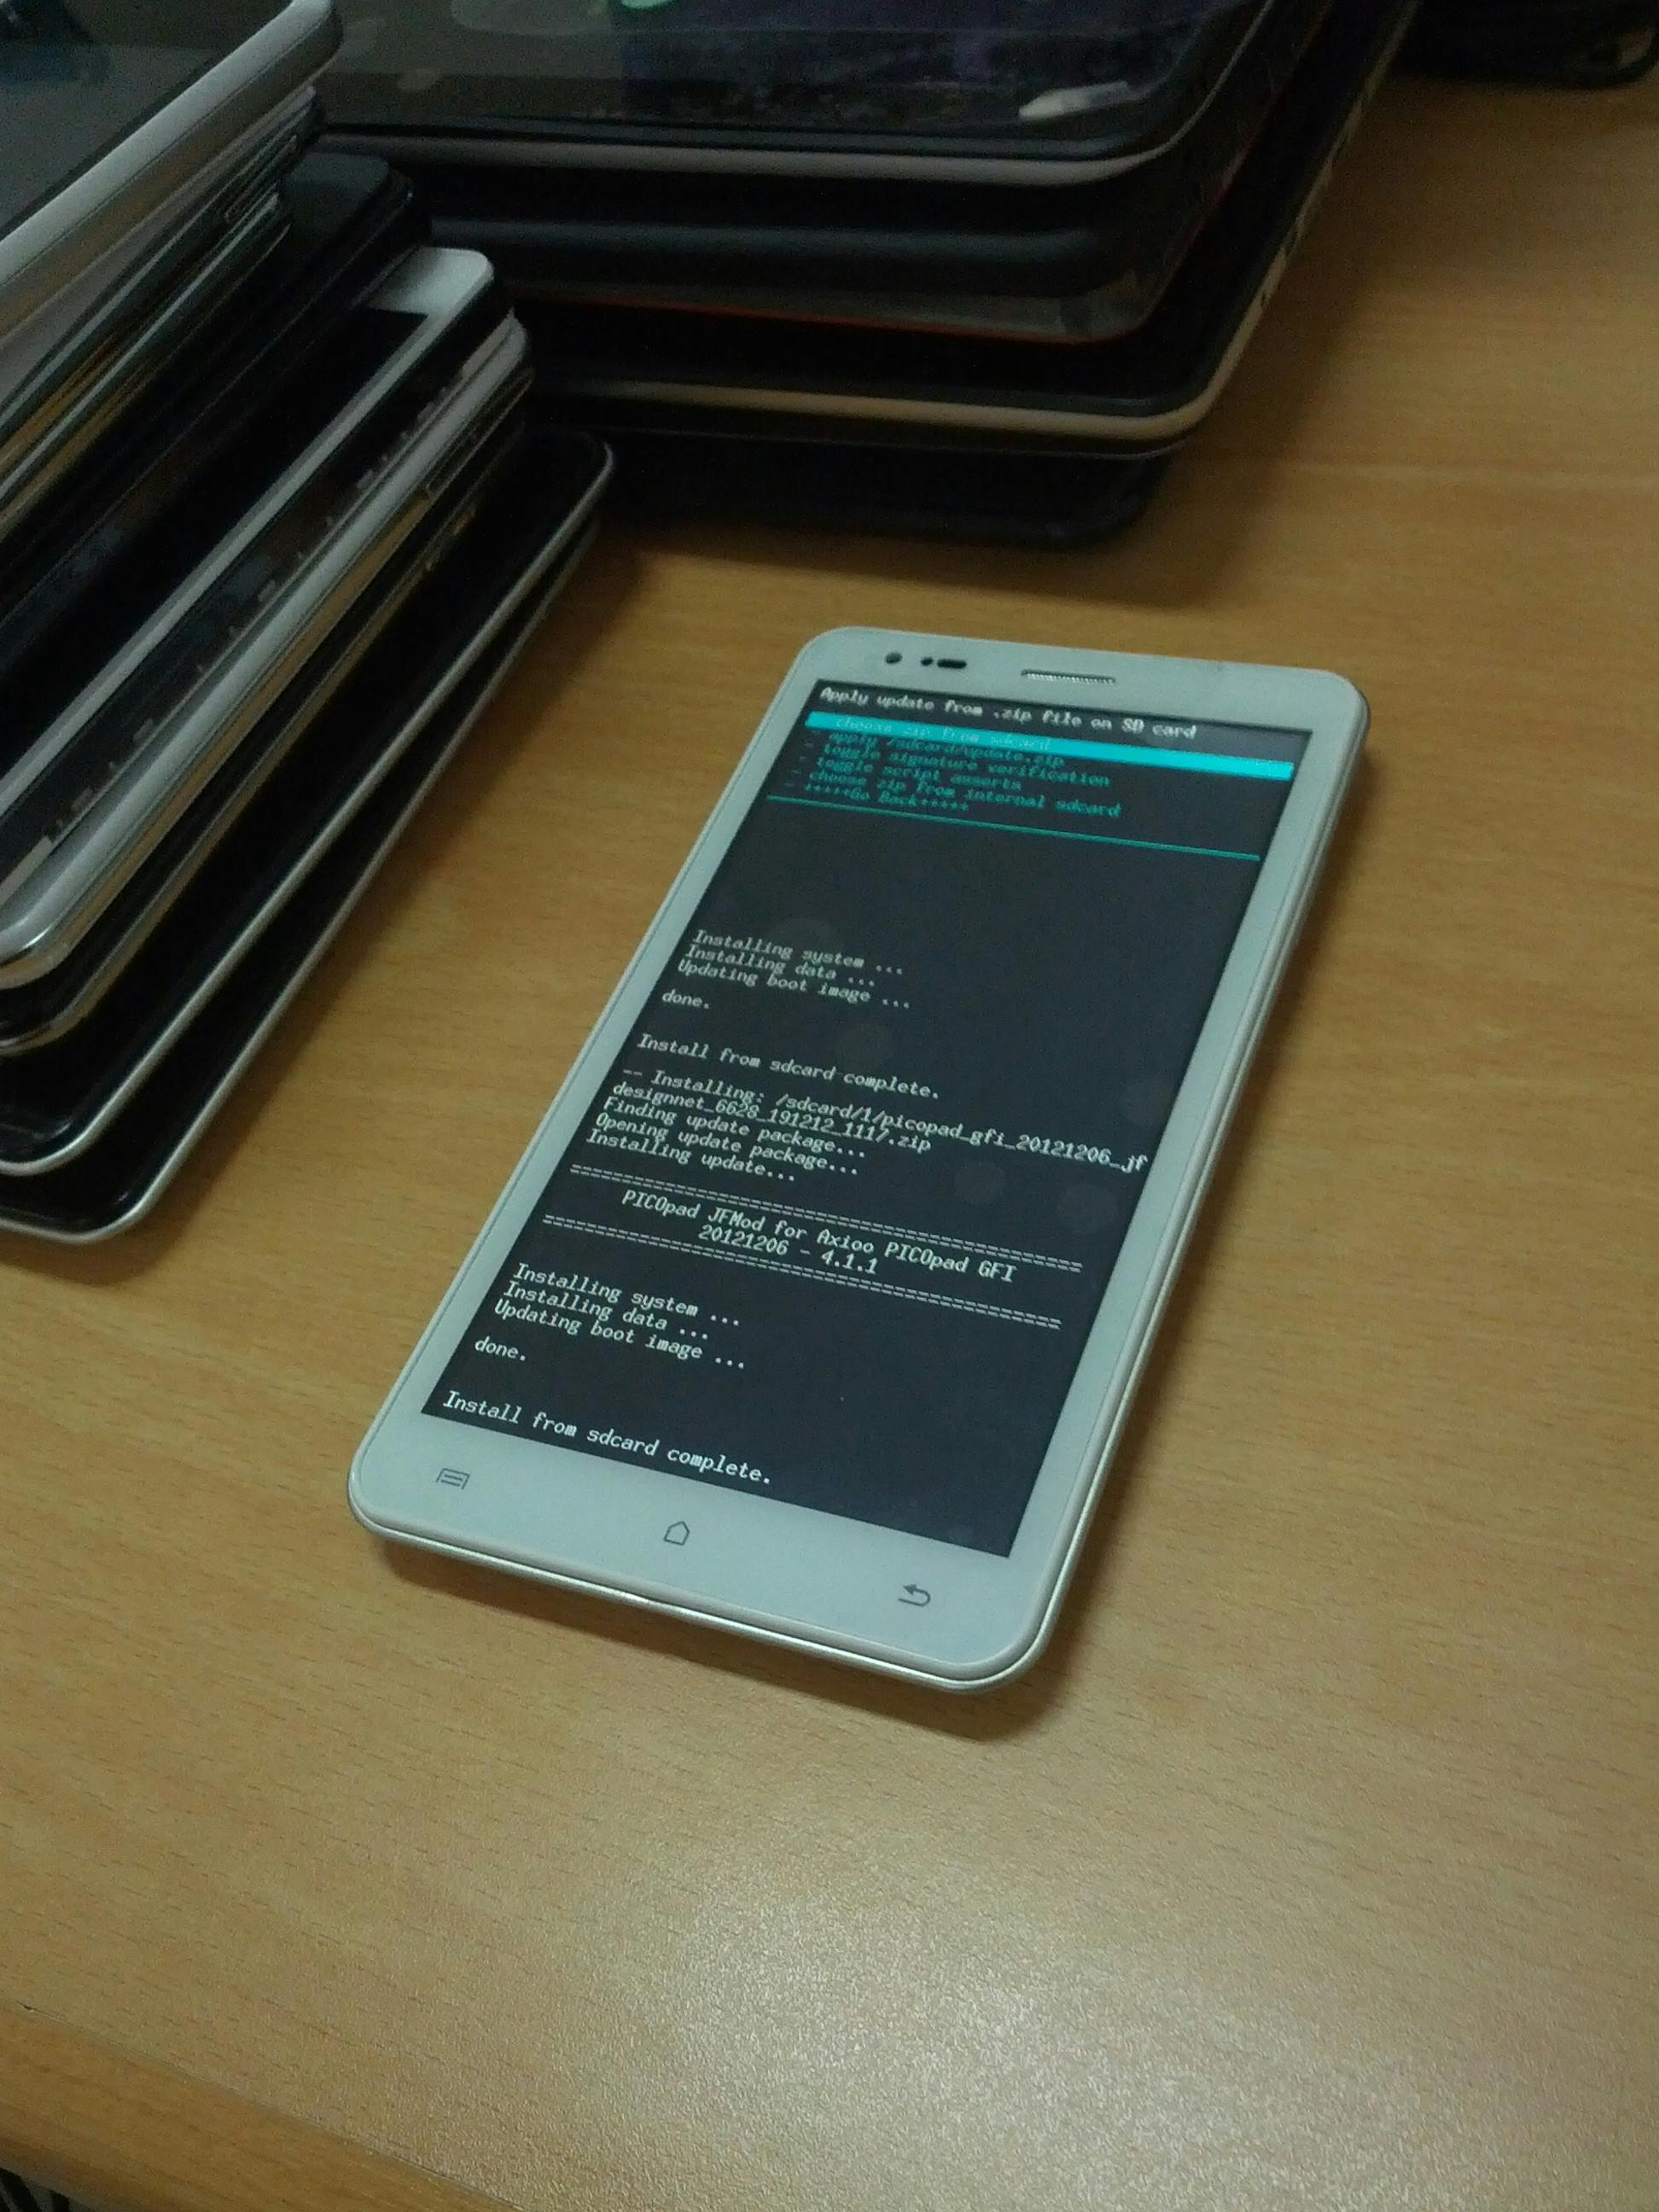
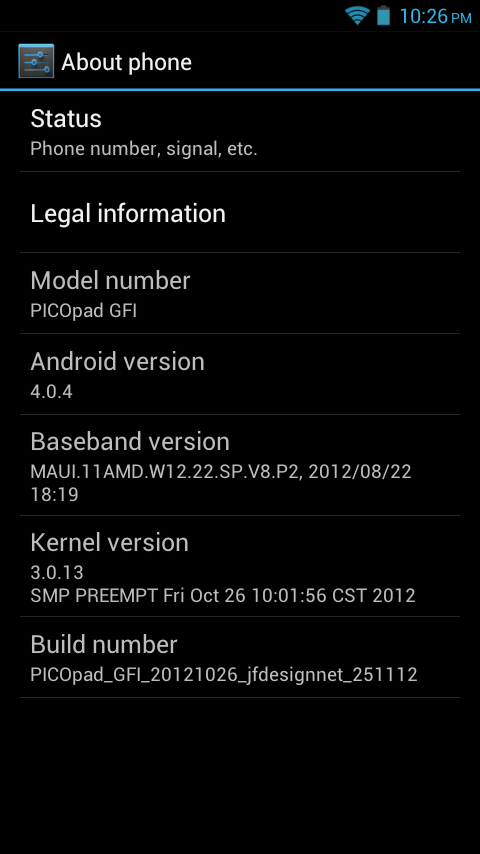
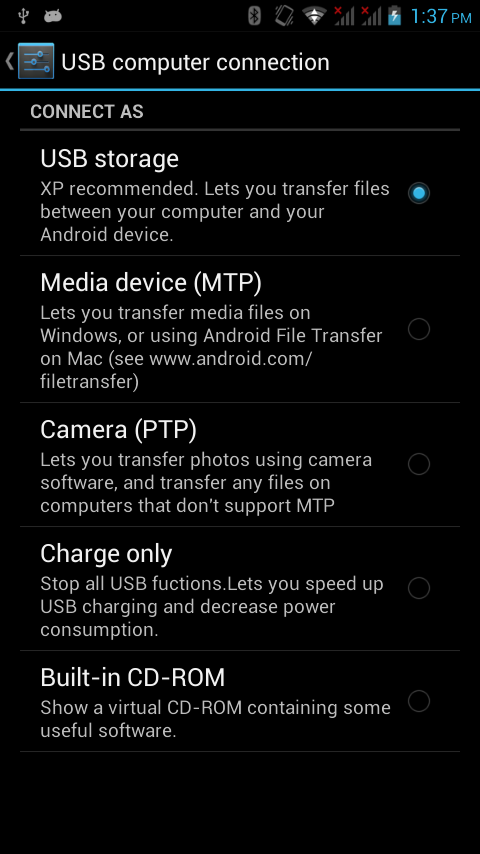
Here is the result after flash :


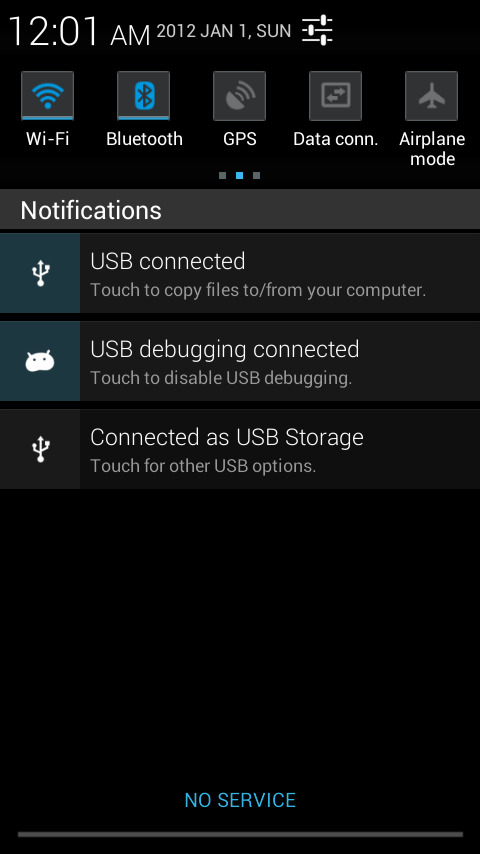
There also no problem with WLAN, Bluetooth connectivity, front and back Camera :

Enjoy your PICOpad GFI !